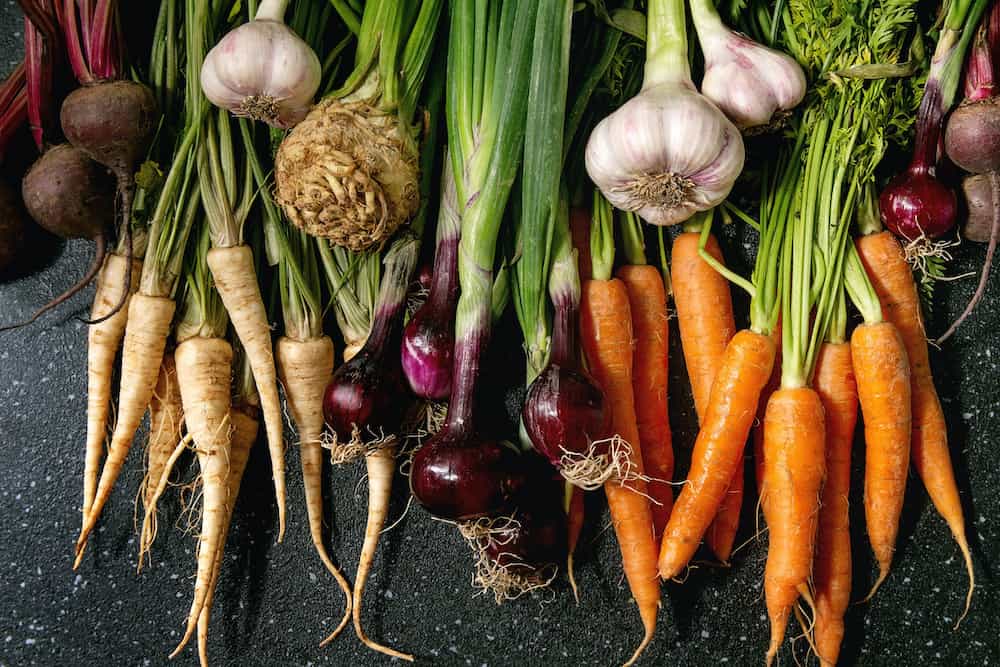
I think starting a garden is a fun hobby. Starting with the easiest vegetables to grow makes it even better because it’s likely you will have some success. Leafy greens and radishes are hardy and grow easily. Starting with established tomato plants will give you a big head start on growing tomatoes.
Plants that produce food need a minimum of 6 hours of direct sunlight per day. Check the spot at 10am, 12pm, 2pm, and 4pm to ensure it’s sunny. If not, plant in a different area.
Whether you want to grow a few plants in containers or want to have a large garden, learning the right way to do it will hopefully yield you a decent harvest.
Increasing Your Chances for a Good Harvest
No matter what you plant, there are certain things that will help you be successful:
- Learning your USDA hardiness zone
- Plant what will grow in your climate
- Plant in the correct season for your climate; learn if there are special soil temperature requirements
- Knowing whether to plant from seed or from a start
- Knowing whether to plant directing in the ground or to start seeds and then transplant them
- Germination rate of the seeds; how long does it take to harvest [called Days to Maturity (DTM)]
- Proper plant spacing, watering needs, and starting with quality soil
Below are easiest vegetables to grow, even for beginners! All of these vegetables can be grown in containers as well.
Easiest Vegetables to Grow
Lettuce
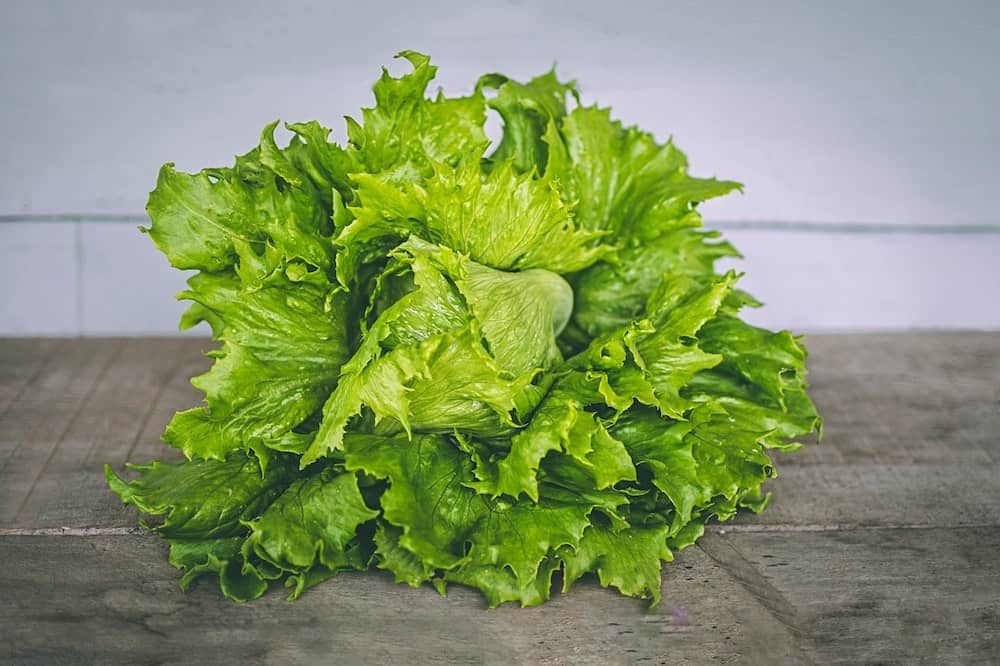
Nothing beats waking up every morning, going out to your garden, and harvesting salad greens. What’s great about leaf lettuces is the fact that you can grow them and harvest the outer leaves, and continue growing them. They will continue to grow.
To grow lettuce plants, you need loamy soil that is rich in organic matter. You also need to make sure that it is well-draining. Lettuce has very delicate roots, so it won’t grow well in clumpy soil. Lettuce in containers does very well.
Learn how to grow lettuce. You can choose varieties that are more cold or heat tolerant. Lettuce grows well with arugula, spinach and swiss chard. While it needs a lot of sunlight, it’s a cool season crop. It loves colder temperatures. In most regions, this is in the spring and fall. In fact, it can even grow through the winter with proper care.
Plant seeds or from starts. Some examples are head lettuce, including iceberg or romaine.
| Ideal Planting Time | Spring and Fall |
| Germination Time | 7 days |
| Spacing | 4 – 8 inches |
| Ideal Temperature | 50°F to 70°F |
| Ideal Lighting | Full sun |
| Time Until Harvest | 2 months |
Spinach
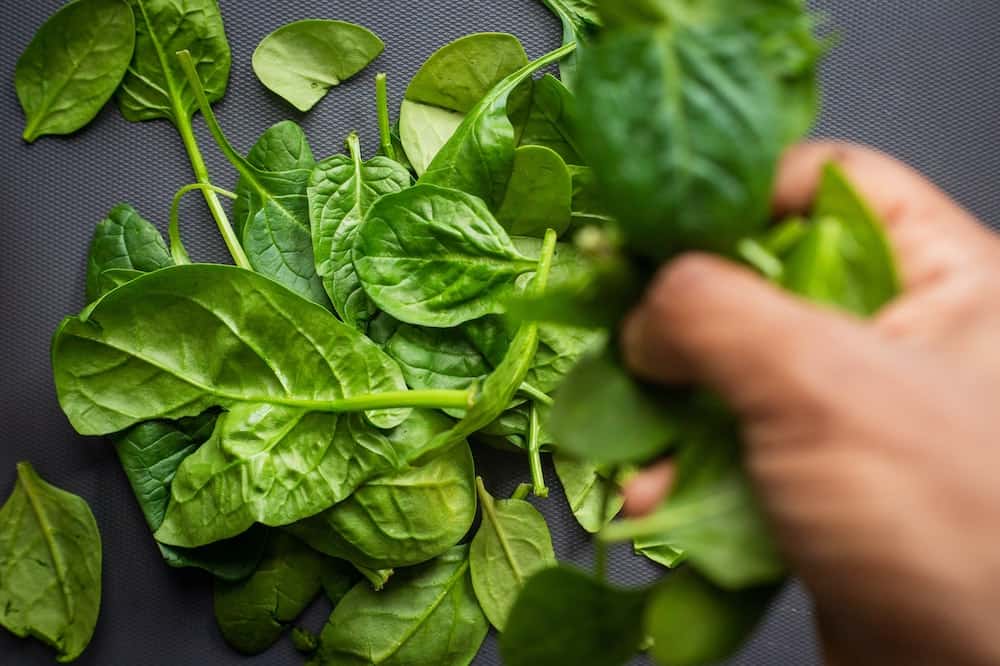
Another leafy green that grows well in cooler weather and also very easy to grow is spinach. When growing spinach, make sure that it gets a lot of nutrients. This plant is heavy feeder.
Proper drainage is important too. Like lettuce, spinach also needs a lot of sunlight. However, you can also get a significant harvest even if it’s planted in a partly shaded area. It’s a cold weather plant, so you plant spinach seeds in the fall. If you live in a warmer climate, you can plant them in the winter.
| Ideal Planting Time | Fall |
| Germination Time | 7 days |
| Spacing | 3 – 5 inches |
| Ideal Temperature | 40°F to 70°F |
| Ideal Lighting | Full sun |
| Time Until Harvest | 45 days |
Arugula
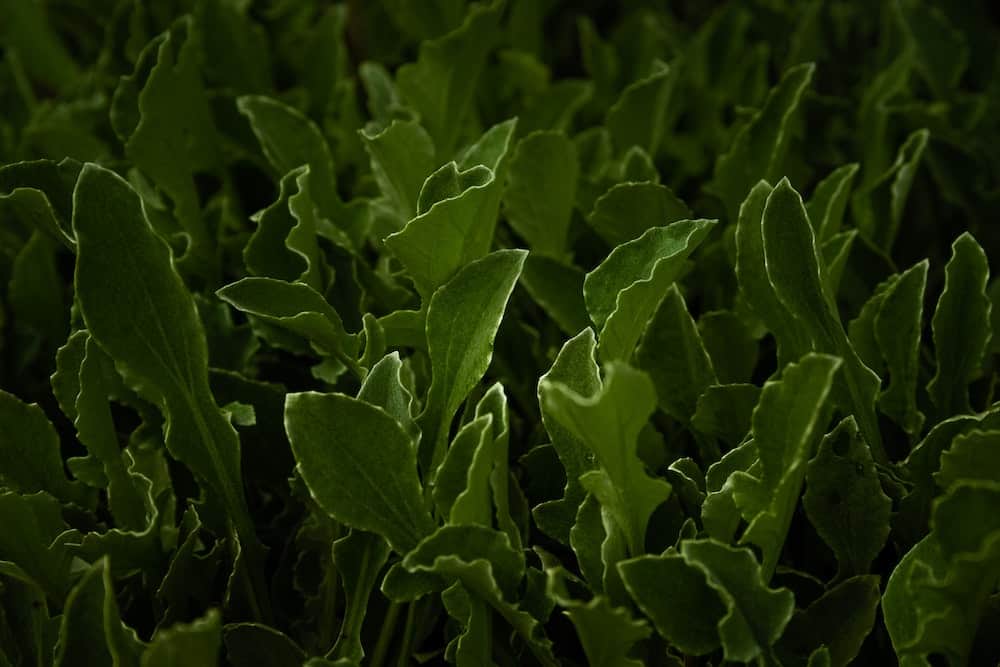
Add another layer of flavor to your green salad with arugula. Unlike all the other greens, there is no secret to growing arugula because it’s fairly effortless to grow.
It’s ideal for smaller containers because its roots are not long. However, you might want to choose a wide planter, though so you’ll be able to plant more.
Planting arugula in a self-watering container also makes the job easier. Otherwise, when watering, be sure to not get the plant wet; water around the edges directly on the soil.
Its seeds are quite tiny and its roots delicate, so there’s no need to re-pot this veggie. You just want to be careful not to plant it too deeply.
It thrives in full sunlight, but if you live in an area where you plant it in the summer, you may not want the direct afternoon sun on it. (I live in gardening zone 9b where this grows well as a cool season crop. I harvest arugula before May because it gets really hot.)
Arugula plants don’t like hot weather. It can make their leaves bitter, so it’s best to start growing them in spring or late summer, again, depending on your USDA hardiness zone (also called climate zone).
Be sure to harvest arugula when the leaves are small. The younger the leaves, the sweeter they will be.
| Ideal Planting Time | Spring or Late Summer |
| Germination Time | 1 – 2 weeks |
| Spacing | 6 inches |
| Ideal Temperature | 45°F to 65°F |
| Ideal Lighting | Full sun or partly shaded |
| Time Until Harvest | 35 days |
Kale
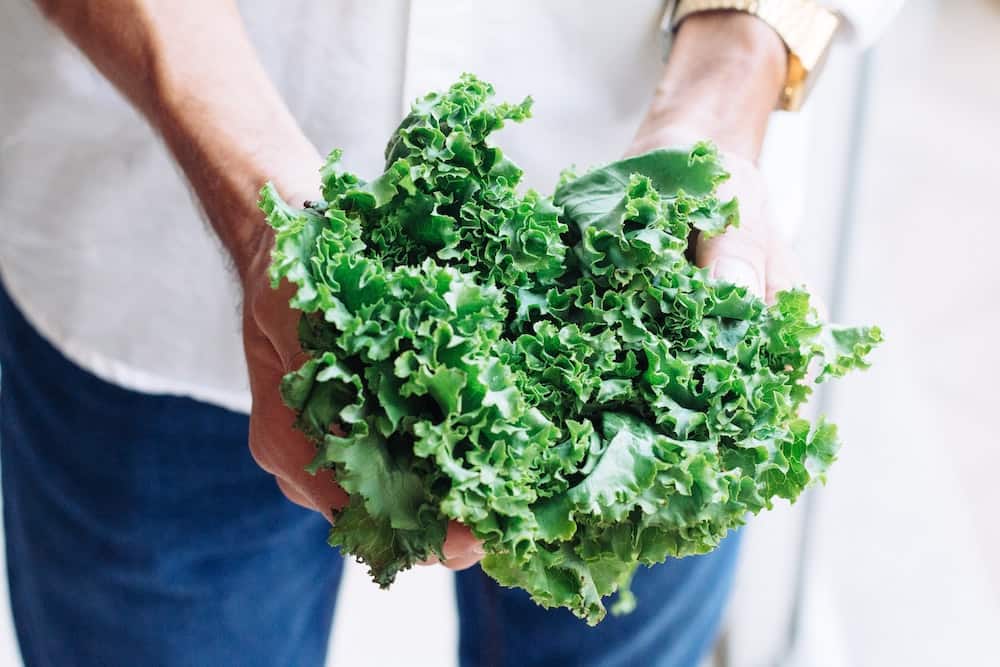
Another easy-to-grow vegetable is another salad green called kale. I love growing kale because it’s sort of sweet tasting. It’s really easy to use in salads. I also make kale chips with olive oil and salt and bake them in the oven. They are amazing!
Kale is part of the cabbage family. Kale is be a heavy feeder like spinach, so make sure to start with organic matter in your soil. I don’t fertilize. Instead, I enrich my soil “Mel’s mix” using the square foot gardening method. This involves adding one third each of compost, vermiculite, and peat moss to the soil before planting.
Like the arugula, kale needs a lot of water. Mulching the soil surrounding your plant will help in keeping the moisture in, especially if you have a spring without much rainfall.
| Ideal Planting Time | Early spring or fall |
| Germination Time | 7 days |
| Spacing | 16 inches |
| Ideal Temperature | 45°F to 75°F |
| Ideal Lighting | Full sun or partly shaded |
| Time Until Harvest | 60 days |
Carrots
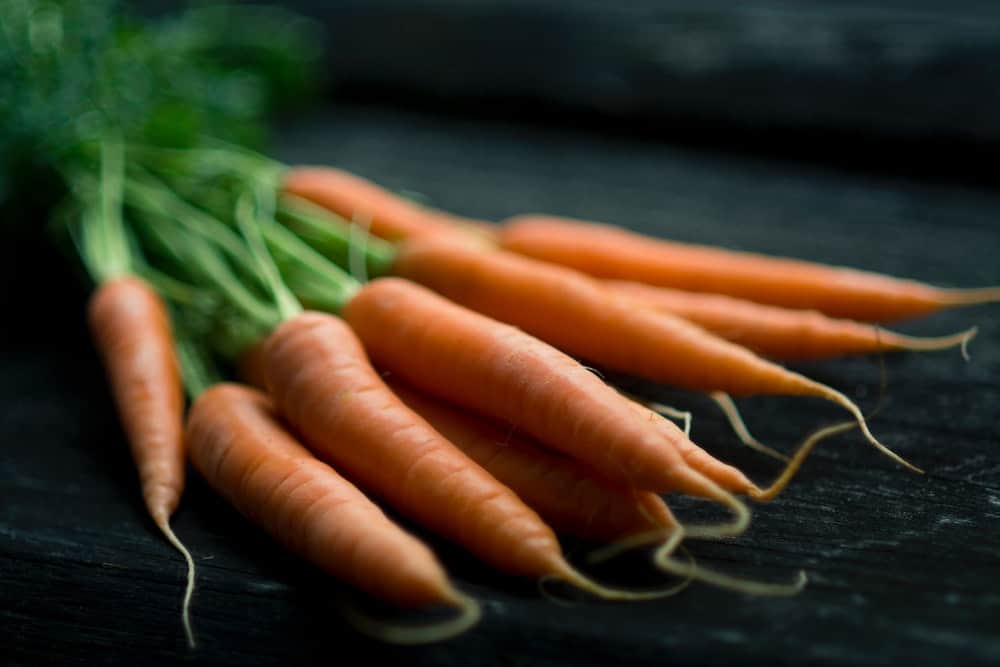
Root vegetables are easy to grow. One of the easiest is carrots. While they grow easily, they can be frustrating for beginner gardeners because they take a lot of time to germinate.
I think it’s important to learn how to grow carrots if you have deer and other garden-eaters around. While deer may munch on your leafy greens, they’ll be less likely to notice your carrots. (Though, they still will eat them if they find them!)
If you are planting in a container, be sure it’s deep enough to support the growth. Choose a container that is at least 7 – 15 inches deep, depending on the type of carrot that you’re growing.
You also won’t need as much organic material in your soil (as this produces more nitrogen). Too much organic matter in the soil will help the leaves grow and not the carrot itself.
Instead, amend your soil with coffee grounds. While quality soil is always important, it’s especially true with carrots. You don’t want heavy clay or other poor soil. It should be well-draining with no clumps or rocks that can hinder the straight, downward growth of your carrot.
Sandy, airy soil is best. Carrots will enjoy a lot of sunlight but not a lot of heat. Harvest carrots before it gets too hot. Frost will help your carrot become sweeter. Once you see the crowns showing, check the DTM. If it’s not time yet, bury them in mulch or added soil to keep them from growing bitter.
| Ideal Planting Time | Spring and fall |
| Germination Time | 1 – 3 weeks |
| Spacing | Four inches |
| Ideal Temperature | 60°F to 70°F |
| Ideal Lighting | Full sun |
| Time Until Harvest | 75 days |
Tomatoes
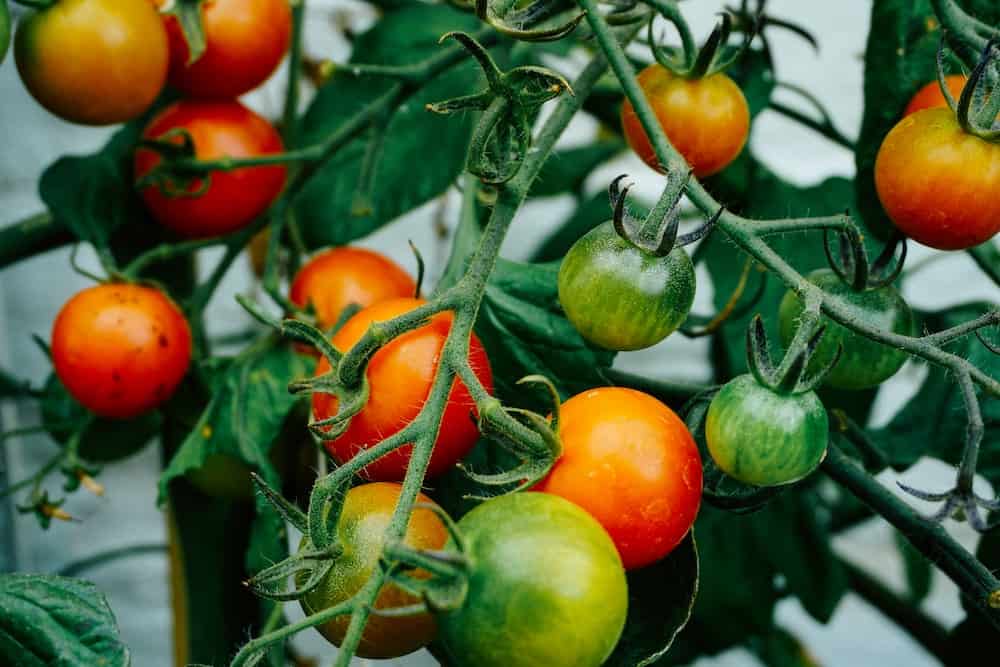
Technically a fruit, a plant that is really easy to grow is tomatoes. Be sure to plant outdoors after the last spring frost.
You can grow tomatoes in pots if they are big enough. Unlike carrots and root vegetables, tomatoes do well when transplanted.
Wherever you plant tomato plants, you’ll want the ability to support it with a cage, tomato trellis, or by staking it.
If Starting from Seed
First, germinate the tomatoes in a container. Once it grows as tall as three times the size of your original container, it’s a sign that your plant is ready for repotting. Get a bigger container. Ideally, it should be 15 inches in depth.
Next, gently remove your tomato plant from its original pot. Do this by carefully shaking the pot to loosen up the soil and tipping it over to allow the plant to release itself on its own. Be careful not to disturb the root ball. After that, remove the lowest leaves of your tomato plant.
Do you notice that there are fibers on the stem? You would then want to bury the plant deeper than it was originally planted. Finally, water and continue growing.
| Ideal Planting Time | Summer |
| Germination Time | 7 days |
| Spacing | 6 – 8 inches |
| Ideal Temperature | 65°F to 85°F |
| Ideal Lighting | Full sun |
| Time Until Harvest | 3 – 4 months |
Turnips
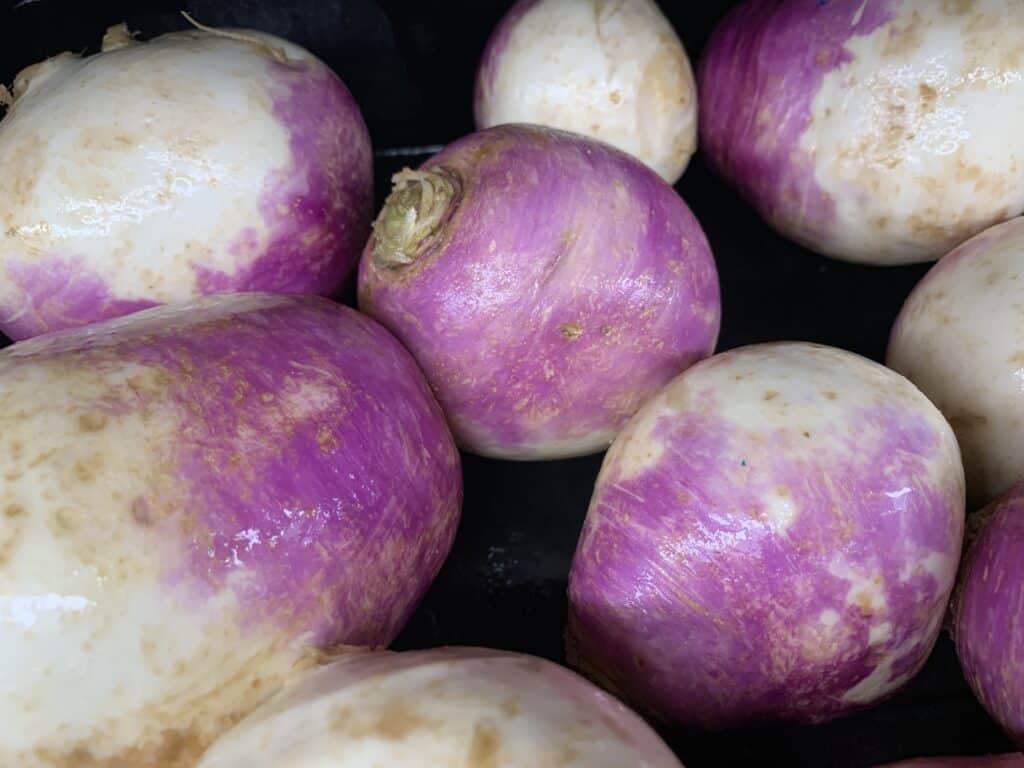
Turnips are a fantastic vegetable to grow in your garden, especially if you are a beginner. They are very easy to grow and can be grown in containers as well. Turnips are a cool-season crop that require direct sunlight for at least 6 hours per day. Depending on your climate, you can grow turnips in the spring, fall, or winter.
One of the great things about turnips is that they are relatively low-maintenance. They require well-draining soil that is rich in organic matter.
Learn how to grow turnips. Sow seeds where you want them to grow. They do well in containers, garden beds, and right in the ground. They can germinate in 7 days and can be harvested in as little as 30 – 60 days.
Turnips are a versatile vegetable that can be used in a variety of ways: raw in salads, roasted, boiled, mashed, used in soups and stews. Additionally, the leaves of the turnip plant can also be used in salads or cooked like spinach. Make roasted turnips and cook the turnip greens to use all of the plant.
| Ideal Planting Time | Cool season; depends on climate |
| Germination Time | 7 days |
| Spacing | 3 – 6 inches |
| Ideal Temperature | 50°F to 75°F |
| Ideal Lighting | Full sun |
| Time Until Harvest | 30 – 70 days, depends on variety |
Swiss Chard
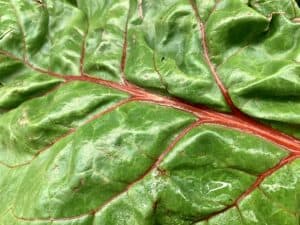
Swiss chard is one of the easiest vegetables to grow, making it a great choice for beginners or anyone looking for a low-maintenance crop.
Swiss chard leaves can be harvested when they are 4 – 5 inches in length. You can harvest the outer leaves, and it will keep growing. It is considered a “cut and come again” crop. Alternatively, you can cut the entire plant at once.
You can grow it in containers or in the ground. Swiss chard prefers well-draining soil with plenty of organic matter, and it requires a minimum of 6 hours of direct sunlight per day.
Swiss chard is a cool-season crop, which means it can be planted in the spring or fall. It can also be grown year-round in milder climates. Swiss chard seeds can be planted directly in the soil or started indoors and transplanted outside. Learn about growing Swiss chard.
Once Swiss chard plants start to grow, they require minimal care. They don’t need to be watered often, and they don’t require heavy fertilization. Swiss chard is also fairly resistant to pests and disease, making it a low-maintenance crop.
Overall, Swiss chard is an excellent choice for anyone looking for an easy-to-grow leafy green. Try the variety called Bright Lights which has colorful stems.
| Ideal Planting Time | Cool season; depends on climate |
| Germination Time | 7 days |
| Spacing | 4 plants per square foot |
| Ideal Temperature | 55°F to 75°F; soil should be at least 40°F |
| Ideal Lighting | Full sun |
| Time Until Harvest | 25 – 65 days, depends on variety |
Other Easy-Growing Vegetables
Other vegetables to consider are:
- Cucumber plants – Not ideal for containers because they vine
- Collards, mustard greens
- Basil, cilantro
- Beetroot
- Beans – Check the variety (snap peas, pole beans, green beans) that’s best for your climate
- Radishes – Growing radishes is easy. Early spring varieties are fast growing and mature in 20 – 30 days from seed.
- Summer squash such as zucchini plant
- Hot peppers
Consider also hydroponic gardens. There are many vegetables that are easy to grow. Best Plants for Hydroponics
What Vegetables Grow Best Together?
Now that we have finished going through the easiest types of vegetables to grow, let us now talk about the best ones to grow together. These are call companion plants or companion plantings.
One of the secrets to growing garden vegetables and making the most of your limited garden space is by strategically planting those that complement each other’s growths. For instance, planting marigold with your tomatoes can protect it from nematodes.
Using our list as a guide, here are the best companion plants for each of them:
Lettuce and Carrots
Carrots can have a difficult time competing with weeds. Hence, to save you the trouble, shallow-rooted plants, like lettuce, are best to plant together with them, even inside a single container.
Onion and Garlic with Arugula
Nothing’s more frustrating than seeing your delicious leafy plant completely decimated overnight by pests because it’s that yummy! The strong scent of onion and garlic will keep pests away from your arugula.
Beans and Kale
Beans are known as natural “nitrogen-fixers.” This means that they won’t compete with the precious nutrient with your kale. In fact, it will even help in supplying more of it.
Tomatoes and Basil
Aside from marigolds, growing tomatoes with basil can enhance the taste of your tomatoes. Plus, they taste great together in Italian dishes.
What Vegetables Should Not Be Grown Together?
On the other hand, here are the plants that you should never grow together with your vegetables:
Lettuce and Parsley
Lettuce and parsley will compete with each other’s nutrients, and they simply antagonize each other.
Arugula and Tomatoes
Arugula doesn’t grow well being planted alongside any member of the nightshade family.
Sunflower and Kale
Sunflowers release a certain chemical that can disrupt kale’s germination process, so make sure that you don’t plant them together.
Tomatoes and Carrots
Tomatoes are known to stunt the growth of carrots.
Container Gardens
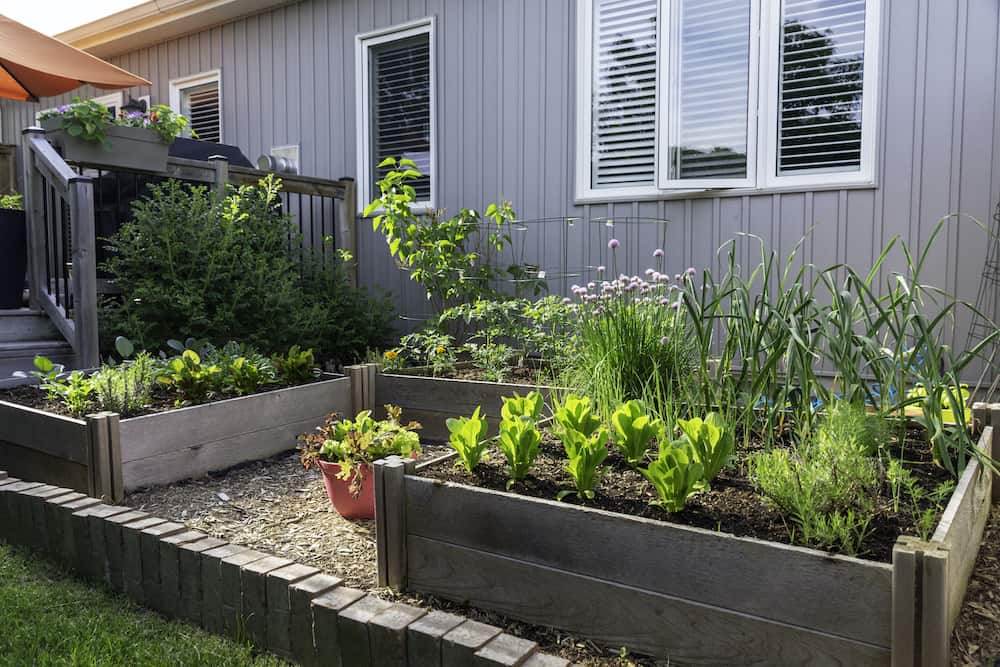
If you don’t have a lot of space to grow a vegetable garden, consider container gardens and raised garden beds. These are gardens that are raised from containers such as pots and planters. These allow you to grow garden vegetables even while living in a limited space or in an urban setting.
You shouldn’t allow your lack of space to hinder you from growing your own food. You can start growing on a porch, a wall, or on the counter in your apartment kitchen. The key is to be creative. Learn how to Grow Potatoes in Pots
Step 1: Choose the right planters
The first thing that you need to consider is where you’re going to plant your vegetables. Since you’re not going to plant them on an actual plot of land, you need to provide them with decent room to grow in the form of pots and planters.
These should be big enough to accommodate the size of your plant as it grows, with more room to spare for its roots to burrow through. Take note that plants have different sizes. Some remain small, while others can grow really tall. Take these into consideration when planter searching.
Make sure that your chosen pots and planters have proper drainage, as well. This is the combination of enough drainage holes and the use of well-draining soil.
Step 2: Get the proper soil
No matter how big of a planter you get, in the end, space is still going to be limited compared to if you’re planting it on actual land. Hence, give your plants as much chance to survive, starting with ample nutrients from your choice of potting soil.
Step 3: Position your pots strategically
One of the benefits of container gardening is having the ability to change the position of your plants when needed. Take this opportunity to position your pots strategically according to their light requirements. When in doubt, remember that most vegetables require full sun, so put your container garden in the least shaded part of your home.
Step 4: Fertilize regularly
Finally, your plants will need more nutrients than what they get from the sun. Eventually, the nutrients in your soil will also run out. When this happens, be sure to sustain your garden with enough fertilizer.
There are different types of fertilizers for you to choose from. Our favorite is vermicast since it’s well-rounded and organic. Choosing organic fertilizers and amending the soil with compost helps to feed the soil.
How to Prepare the Soil for Growing Vegetables
If you do have the necessary space in your backyard or elsewhere to grow an outdoor garden, then that would be great, as well. Here is a quick guide to preparing your soil for growing.
We call the method that we’re going to share with you the lasagna method. It requires layering different organic components to achieve the perfect nutrients that your vegetables will need.
Step 1: Dig
Lay a piece of tarp near your chosen area in the garden. This is where you’re going to put the soil after digging them out. Then, proceed to dig your chosen plot in a depth of six inches.
Step 2: Put the first layer
This first layer is made up of newspaper sheets. Lay down enough to cover the entire area. Once done, dampen the sheets with water.
Step 3: Put the second layer
If available, add an inch of peat moss on top of your layer of newspaper.
Step 4: Put the third layer
Now, for the yummy stuff. Dump a thick layer (a couple of inches tall) of kitchen waste on top of your peat moss. If you don’t have peat moss available, add an extra inch of kitchen waste.
We’re talking about strictly organic waste only; no plastics and non-biodegradable stuff. Some great examples would be eggshells and coffee grounds.
Step 5: Put the fourth layer
Cover the kitchen waste layer with a generous layer of yard scraps. These include dried leaves or grass clippings—any biodegradable wastes lying around in your backyard.
Step 6: Cover everything
It’s time for the last layer! This will involve scooping the soil you’ve removed earlier back into the pile. Smooth the top and drizzle every inch with water, just enough to dampen everything but not make your plot muddy.
You can immediately start planting your vegetables, especially if you have your plants ready. We prefer waiting a few days, though, so as to allow the yummy nutrients to break down first. You can use the same technique when filling up your planters with soil.
Is It Cheaper to Buy Vegetables or Grow Them?
There are a lot of easy to grow vegetables that are cheaper to plant than buy, especially if you have a system in making your own compost at home. In this way, you can further reduce your growing costs, even for plants that require a lot of fertilizer.
In the end, it will all boil down to the effort and waiting time of growing them. These factors weigh into the costs of growing your vegetables, as well. We consider the effort a benefit, though.
Is Growing Your Own Vegetables Worth It?
Maintaining a garden provides good physical exercise, gets you outdoors, and it is also a very rewarding process. There’s a certain kind of satisfaction that you will only get to experience from watching plants grow and, in the end, harvesting and putting them on your table.
Another huge benefit of growing your own vegetables is that you know where your food is coming from and won’t have to worry about pesticides or chemicals.
Conclusion
It’s easy to grow vegetables. Choosing the right plants for the time of year and being sure to remember how often to water them will help ensure a successful harvest to table crop. There are vegetables that can be difficult to grow with their complex germination process and nutrient requirements, but the ones I listed above are proven beginner-friendly.
Consider growing vegetables in containers for more control. A benefit to growing this way is you can move them to ensure they have enough sun. Another advantage is it may be more difficult for wildlife to access them. Also, they are ideal for areas without space for a garden.
No matter where you plant, starting with the easiest vegetables to grow will help get you started with your first vegetable garden.
As you become an experienced gardener, try out planting other vegetables, including winter vegetables and cool weather cole crops.
Also remember flowers and herbs. In addition to herbs will adding more flavor to your home-cooked meals, they also add beauty to the overall look of your garden. Flowers invite pollinators who can help you with growing your vegetable garden.
I hope you find the experience of growing your own vegetables enjoyable!
Related:
- Growing Watermelon ~ How to Grow Watermelon
- Growing Okra Plants ~ How to Grow Lots of Okra!
- Cucumber Plant Growing

