Turnips are cool season root vegetables. They are easy to grow, with some varieties taking 35 – 40 days to mature from seed. Plant at the right time of year for your climate and use decent soil. Learn how to grow turnips so you can enjoy a bountiful harvest with minimal effort and expense.
You can grow turnips in a variety of soil types, as long as the soil is well-draining and has a pH of 6 – 7.5. Turnips are also a good choice for container gardening, making them a great option for those with limited garden space.
A root vegetable, turnips have a slightly sweet and earthy taste, and their greens are edible. They are also versatile. You enjoy them raw in salads or roast, boil, mash, or sauté them.
Gardening is rewarding when it’s done correctly, and you can enjoy the fruits of your labor. Keep reading to learn how to grow turnips with important planting tips. I am starting with the hardiness zone so you know when to plant turnips in your area.
When to Plant Turnip Seeds by USDA Hardiness Zone
Turnips are a cool-season crop that tolerate frost and thrive in cool temperatures. When to plant turnip seeds will depend on the climate and hardiness zone of your region. Learn what your hardiness zone is. Turnips will grow in zones 2 – 9. Here is a breakdown for different growing zones so you can learn when it’s best to plant turnip seeds:
Planting turnip seeds in USDA Hardiness Zones 2a and 2b
In these cold regions, it’s best to plant turnip seeds in early spring as soon as the ground is workable. This usually falls between mid-April and early May. Make sure the soil has reached a minimum temperature of 45°F before planting.
Planting turnip seeds in USDA Hardiness Zones 5a and 5b
In these moderate regions, turnip seeds can be planted in both spring and fall. For spring plantings, sow the seeds directly into the ground 2 – 4 weeks before the last expected frost. For fall plantings, plant seeds in late summer, 6 – 8 weeks before the first expected frost.
Turnips prefer a soil temperature of around 50 – 60°F, so make sure to time your planting accordingly.
Planting turnip seeds in USDA Hardiness Zones 8a and 8b
In these warm regions, plant turnip seeds in the fall and winter for a winter harvest. Sow the seeds directly into the ground in early fall, 8 – 10 weeks before the first expected frost. You can also plant turnips in late winter for a spring harvest.
Planting turnip seeds in USDA Hardiness Zones 9a and 9b
In hot regions, turnips can be grown as a winter crop. Plant seeds in late fall to early winter, about 6 – 8 weeks before the first expected frost. You can plant in January and February as well. As with zones 8a and 8b, keeping the soil moist during germination is crucial for success.

Turnip Varieties
When shopping for seeds, keep in mind different types of turnips have unique characteristics. Some grow sooner than others and some are better suited for different climates. Popular varieties include: Purple Top White Globe, Scarlet Ohno Revival, Golden Globe, and Tokyo Cross.
- Purple Top White Globe has a mild and sweet flavor and is versatile for cooked and raw dishes.
- Scarlet Ohno Revival is mild and great for roasting or pickling.
- Golden Globe has a sweeter taste and is good for mashing or pureeing.
- Tokyo Cross Hybrid is a Japanese variety that grows quickly (35 days) and has a mild, sweet flavor.
- Tokyo Bekana
- Hakurei
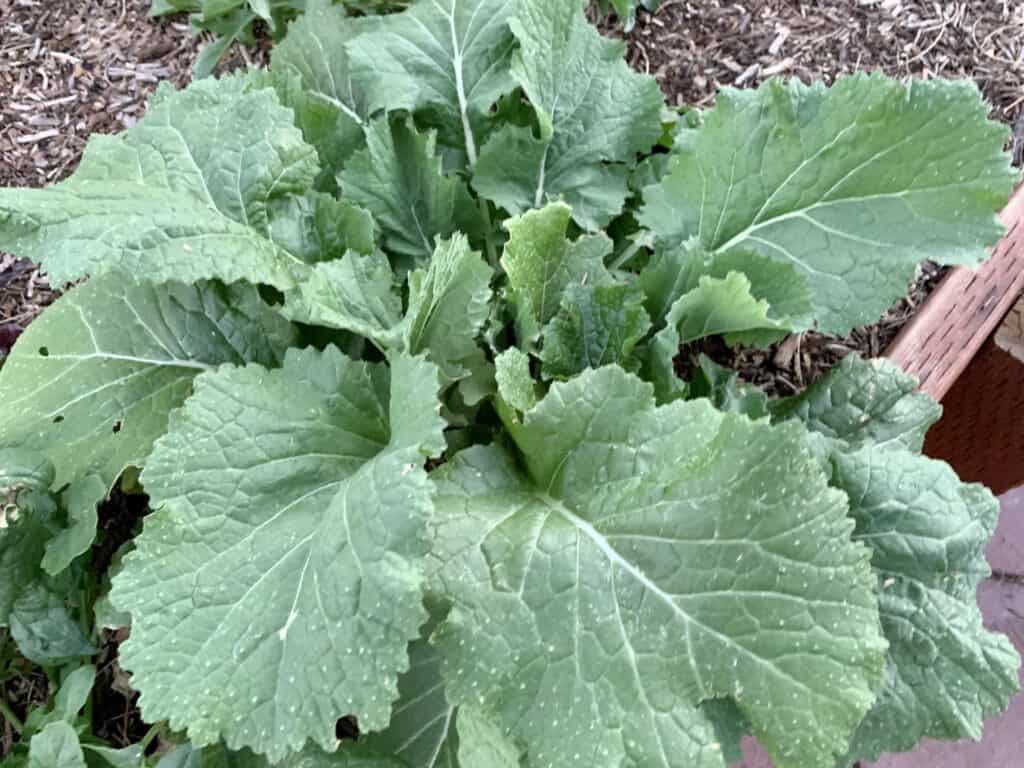
For those more interested in turnip greens (also called turnip leaves and turnip tops), consider growing varieties specifically bred for their leaves, such as Seven Top or Topper. These varieties produce a large amount of foliage and smaller roots. Eden Brothers sells organic seven top turnip seeds.
Consider your climate when choosing a turnip variety. When growing turnips in colder climates, choose varieties that can handle frost and cooler temperatures, such as Purple Top White Globe or Scarlet Ohno Revival.
If you live in a warmer region, choose varieties that can tolerate higher temperatures, such as Tokyo Cross, Golden Globe, Golden Ball, White Egg, and Shogoin.
How to Grow Turnips
Plant turnip seeds where you want them to grow. You won’t start them in small containers indoors and transplant them. You should sow them directly in the ground, in a gardening bed, or in a container.
When choosing a spot to plant, look for a location with well-draining soil. Turnips require full sun to grow well; they need at least 6 hours of direct sunlight each day. In hotter climates, they can tolerate partial shade.
Avoid planting turnips where cruciferous vegetables like broccoli or cauliflower were grown in the past two years, as they are susceptible to similar diseases. Crop rotation is important.
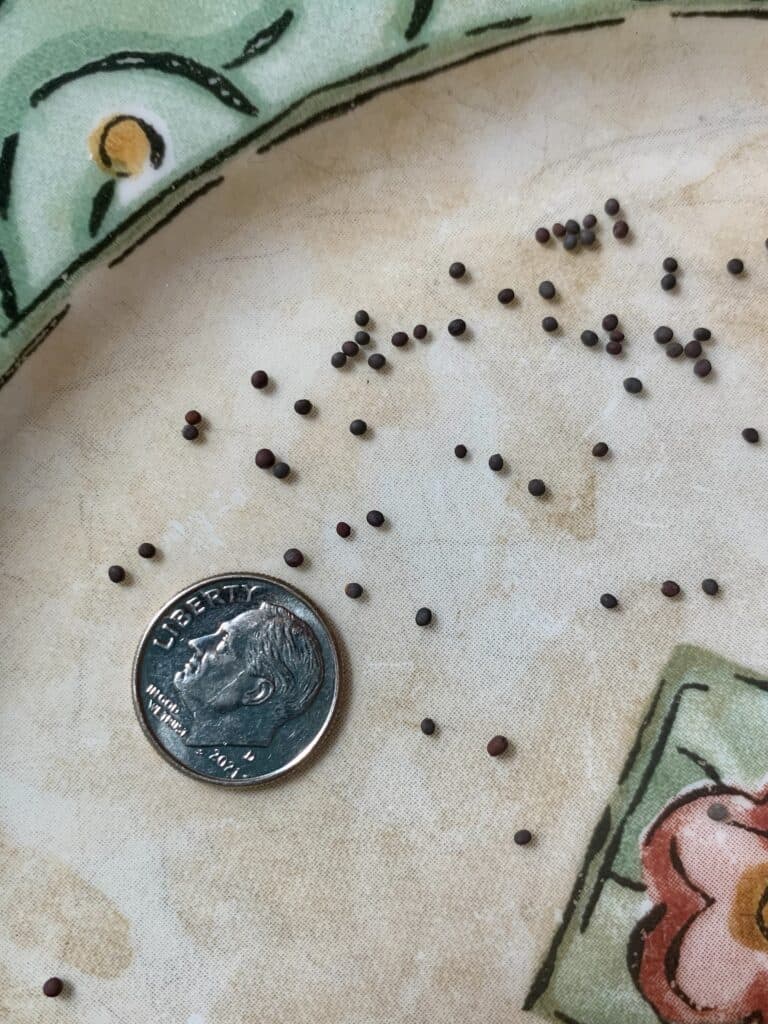
You can soak turnip seeds overnight in a cup of water to help speed germination. Turnip seeds are tiny and a bit difficult to handle when wet.
Soil Requirements
Soil is an important aspect of growing turnips. Ensure the soil is loose, nutrient-rich, and well-draining. I’ve never checked my soil’s pH level when planting turnips because I always add more soil and amend it with organic matter before each new planting. I add new soil mixed with equal parts compost, vermiculite, and peat moss.
However, ideally the pH should be between 6.0 and 7.5.
Prepare the soil by removing any rocks, stones, and debris. Break up clumps of soil. Turnips grow best in soil that has been amended with organic matter like compost, aged manure, or leaf mold. This improves soil structure and fertility. If you have tough soil, you can improve drainage by adding perlite or vermiculite.
I don’t apply fertilizer and grow turnips very well. Start with the highest quality soil you can. Turnips are moderate feeders. A soil test will help determine the specific needs of your soil.
Generally, turnips need a balanced fertilizer with a ratio of 10-10-10 or 5-10-10. Avoid over-fertilizing, as this can result in excessive leaf growth and small or misshapen turnips.
How to Plant Turnip Seeds
Turnip seeds are tiny! Hold onto them… When planting turnip seeds, there are three main methods: in rows, square foot gardening, or in containers and pots. Whichever method you use, germination is 7 – 14 days.
For rows:
- Plant turnip seeds about ¼ to ½ inch deep and 1 inch apart in rows that are spaced 12 – 18 inches apart.
- Thin the seedlings to 4 – 6 inches apart once they reach 2 – 4 inches tall.
For square foot gardening:
With square foot gardening, you only plant one seed per space; no thinning required. Measure out the space or you can buy a square foot gardening square on Amazon. (I love mine.) You should plant 9 turnip seeds per square foot. I have had great success growing turnips with this method.
- Within each square foot, plant 3 turnip seeds in each row.
- Plant ¼ to ½ inch deep.
Planting turnips in containers:
Turnips can also be grown successfully in containers. You can plant 9 seeds within a 12×12 inch footprint. If you have a smaller pot, plant fewer. When you plant one seed per hole, there is no need to thin the plants.
- Choose a container that is at least 12 inches deep and has drainage holes.
- Fill the container with potting soil mixed with compost.
- Plant seeds ¼ to ½ inch deep, one seed per hole.
- Place the container in a location that receives at least 6 hours of sunlight per day.
- Keep the soil moist but not waterlogged.
- Take extra care to not overwater or underwater. Their “home” is their container.
Regardless of the method you choose, be sure to keep the soil moist but not waterlogged during the germination period. They require approximately one inch of water per week. Be mindful of rain in your area.
Companion Planting
Turnips are a great companion plant for other vegetables, such as onions, beets, carrots, radishes, kale, Swiss chard, garlic, brussels sprouts, broccoli, and cauliflower.
They can also help repel pests, such as aphids and flea beetles, from other plants in your garden. Additionally, turnips can help improve soil health by adding organic matter to the soil and increasing soil fertility.
Watering and Maintenance
Turnips require consistent moisture in their soil, but not too much water. Planting in well-draining soil is important. Mulching the plants will help keep the soil moist.
- Water deeply and regularly, providing about 1 inch of water per week. Factor in rainfall. In drier climates, you may need to water more often.
- Avoid getting water on the leaves as it can encourage diseases.
- Too much water can cause the bulbs to crack, which can lead to disease and rotting.
Pests and Diseases
Turnips are generally easy to grow and maintain, but they can still attract a number of pests and diseases. Some of the most common pests that can damage turnips include flea beetles, aphids, and root maggots. Diseases that can affect turnips include:
- Flea beetles: Tiny black or brown beetles that jump when disturbed, causing small holes in the leaves.
- Cabbage root maggots: White larvae that feed on the roots, causing wilting and stunted growth.
- Cutworms: Larvae that cut through the stem at the base of the plant, causing it to topple over.
- Aphids: Tiny insects that suck sap from the leaves, causing yellowing and stunted growth. According to Eden Brothers, an organic seed company, organic turnips naturally deter aphids.
To prevent these pests, use these tips:
- Intersperse companion plants such as garlic, radishes, onions, broccoli, kale, beets, parsnips, etc.
- Rotate crops every year to prevent buildup of soil-borne pests and diseases.
- Do not plant turnips or any members of the cabbage family in the same location for four years.
- Plant turnips in an area with good air circulation and avoid overcrowding the plants.
- Plant organic turnip seeds.
- Remove weeds.
- Use row covers or insect netting to prevent pests from laying eggs on the plants.
- Apply neem oil or insecticidal soap to deter or kill pests, following instructions carefully to avoid harming beneficial insects.
If you notice signs of pests or diseases on your turnips, there are natural and chemical treatments available. Neem oil and insecticidal soap are effective against many common turnip pests, while copper-based fungicides can help prevent fungal diseases.
However, it’s always best to consult with a local gardening expert or extension agent for advice on the best treatments for your specific area and situation. When I have a problem, I call my local nursery or stop by their information desk.
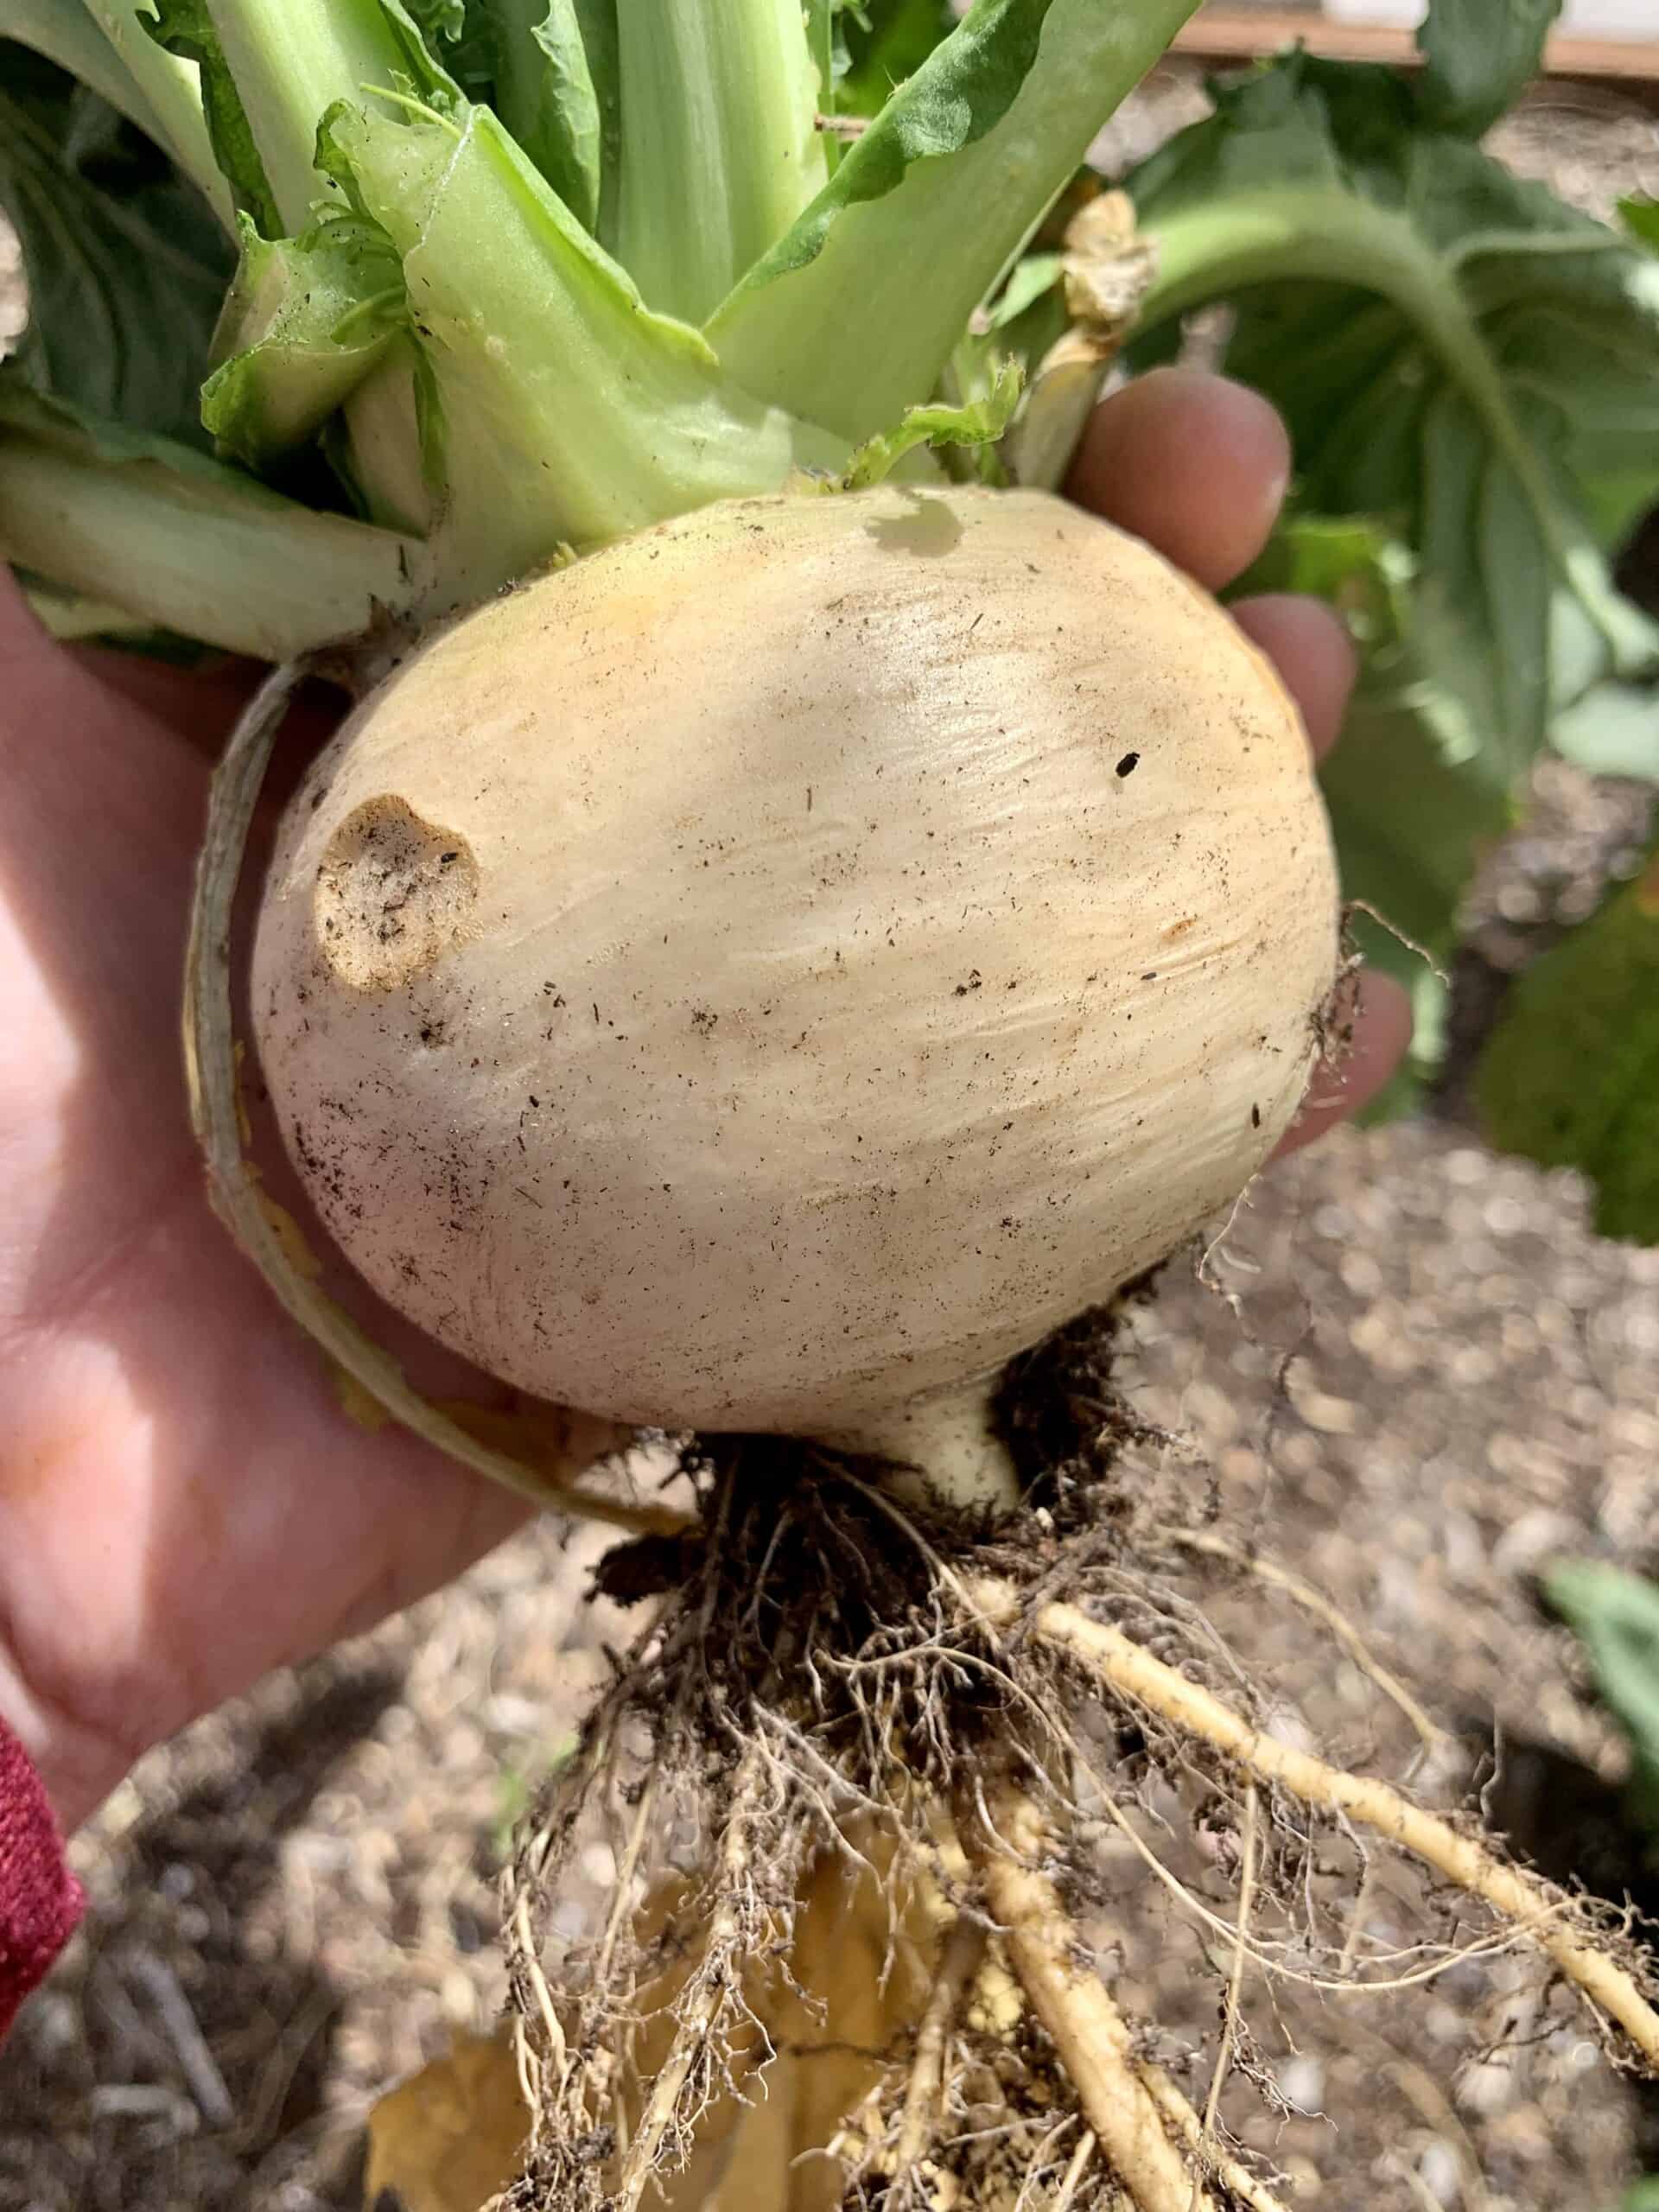
When to Harvest Turnips
When it comes to harvesting turnips, timing is crucial for achieving the best flavor and texture. It’s important not to wait too long pull them out, as the turnips may become tough and woody.
The days to maturity (DTM) for turnips vary based on the variety of turnip you grow. When planting turnips, always refer to the DTM on the seed packet to determine when they are ready for harvest. This will give you a general idea of when they will be ready though actual time may vary depending on the growing conditions.
For example, Tokyo Cross have a DTM of 40 days while Purple Top White Globe turnips have a DTM of 55 – 60 days. Additionally, some late-season varieties like Hakurei turnips can take up to 75 days to mature. It’s important to keep track of the days to maturity and harvest the turnips at their peak to ensure the best flavor and texture.

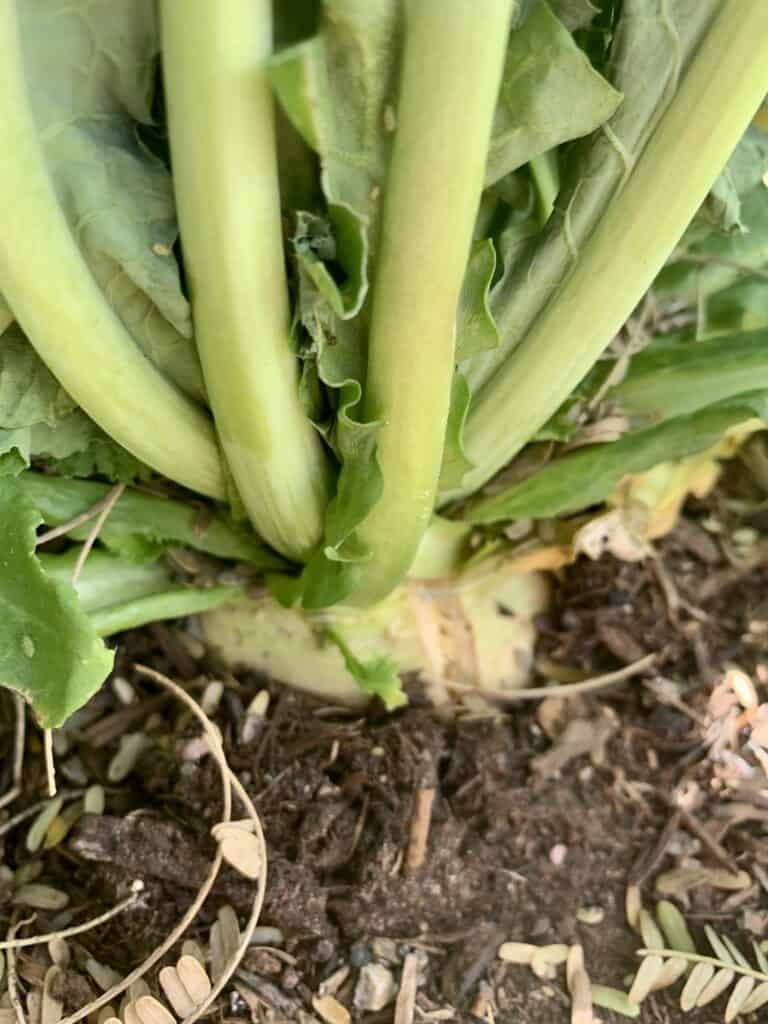
Check for crowning or shouldering. When you can see the top of the turnip in the soil. it’s likely ready. Depending on the variety, it should be between 2 – 3 inches in diameter (although some varieties may be harvested at smaller or larger sizes).
If you are growing lots of turnips, you can check if the turnips are ready by gently pulling one out of the ground and examining its size and shape.
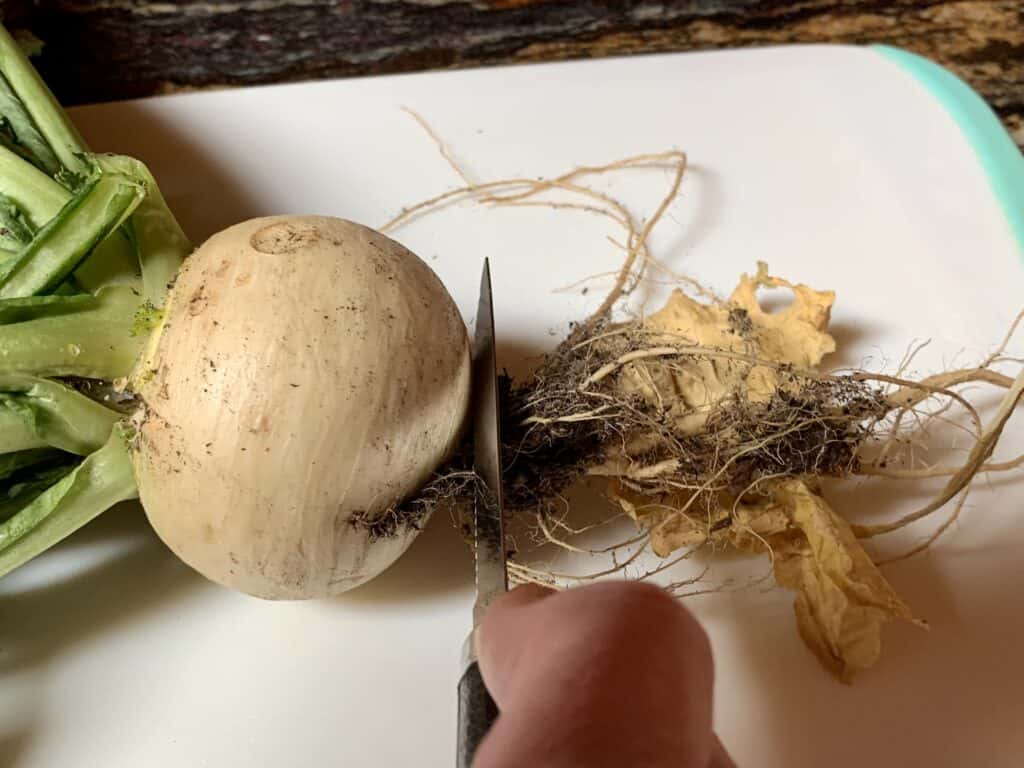
To harvest turnips, pull from the top of the root at the soil line, and carefully pull the turnip out of the ground by gently tugging. You can eat the turnip root and the turnip greens. Check out this easy recipe for roasted turnips.
How to Harvest Turnip Greens
If you are interested in harvesting the greens, snip them off when they still developing, when they are 4 – 5 inches tall. Leave a few so the turnip root continues to grow. The plants will also grow more leaves. Use scissors or small gardening shears.
When growing turnips for greens, it’s important to harvest the leaves before they become tough and bitter, typically before the roots mature fully. Turnip greens can be cooked like spinach or kale, or added to soups and stews.
How to Store Turnips
After harvesting turnips, you may have some you want to store. Remove the dirt, cut off the roots and the greens. Wrap them in a damp paper towel to prevent them from drying out. Store turnips in a cool, dry place. You can store them in a root cellar or a refrigerator crisper drawer for up to 5 months.
FAQs
How long do turnips take to grow?
Turnips are fast-growing vegetables. Depending on the variety, they will be ready to harvest in 35 – 70+ days. In many varieties, you can harvest the greens sooner, when they grow 4 – 5 inches. They will continue to grow new leaves as the root fully matures.
How to plant turnip greens from seeds?
In one square foot, you can plant 9 turnip seeds. Use well-draining, nutritious soil, and plant seeds 1/4 – 1/2 inch deep. They need to be in full sun. They will germinate in 7 – 14 days.
Can I grow turnips in containers?
Yes, you can grow turnips in containers. Be sure the container is at least 12 inches tall. Provide drainage holes and set in a location that receives 6 hours of sunlight daily
What are turnips?
Turnips are a root vegetable and grow in the soil like carrots, parsnips, radishes, and rutabagas. You can eat turnips raw or cooked.
You can also eat the turnip tops, the leaves, which are called turnip greens. Turnips store well. Growing turnips can be a good choice for new gardeners. They grow well in the ground or raised beds. They are also a good choice for container gardening.
Homegrown Turnips
Growing turnips is easy when you plant at the right time of year for your climate and use high-quality soil. Turnips grow well in containers and in garden beds. They are among the easiest vegetables to grow and grow quickly.
Turnips are an underrated vegetable that can be grown in a variety of climates. They tolerate frost and prefer cool soil.
I hope you now feel confident to plant turnip seeds so you enjoy a bountiful harvest. You may also want to decide if you want to grow turnips more for the turnips themselves or for the turnip greens (leaves).
There are some varieties better suited for each but you can enjoy the turnip and tops from most all types. Turnip greens are edible, and they are an extra value to this crop. They can be used in salads, sautéed or steamed.
Also, remember crop rotation. Even as you add more soil to the planting area, it’s important to rotate crops. Using organic seeds and adding companion plants will help keep pests away. Learn more about growing companion plants such as carrots, radishes, rutabaga, garlic, and more.
Turnips are known for their sweet taste, so having access to freshly-picked turnips allows you to enjoy them at their best. Plus, by growing your own turnips, you’ll know exactly where your food comes from.
In summary, turnips are a versatile and easy-to-grow crop that can be enjoyed in a variety of ways. Keep in mind that good soil, consistent moisture, proper spacing, and protecting from pests will ensure success with this cool-season crop. They are a great vegetable to grow in your garden, especially for first-time gardeners.
Resources:
- Fertilizer and root vegetables
- Pests to watch out for when growing root vegetables