Orchid Blooming Guide – One of the most beloved and popular members of the flower family is the beautiful, exotic orchid.
This gorgeous, tropical plant is an all-time favorite in the botanical world with plant-pros and beginners alike.
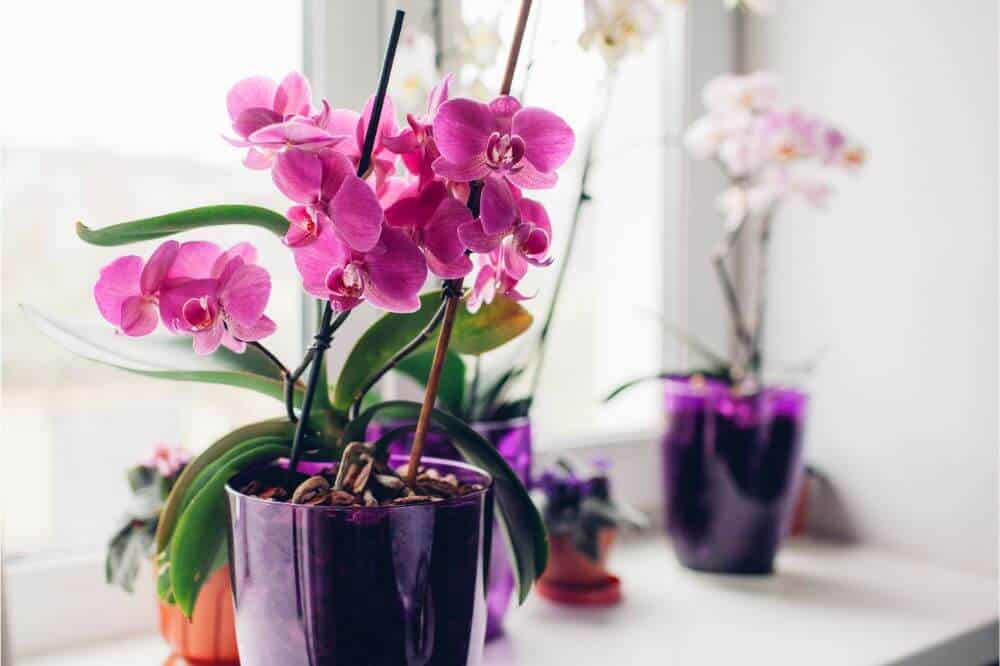
The reason for its popularity may well be the fact that there are so many fabulous colors to choose from, and it can be grown indoors as well as outdoors.
Sometimes known for being a sensitive plant, orchids can get a bad rap for being difficult to take care of.
But as long as you’re willing to put in the work, you can enjoy beautiful orchid blossoms for years and years to come.
Growing orchids is not as difficult as some people make it seem.
As long as you do your research, adjust the lighting, pay attention to watering, and keep the temperature stable, your orchid should stay happy.
How difficult the plant is to maintain also depends on the variety of the orchid you have.
There are, believe it or not, over 28,000 different types of orchids in the world according to HGTV.
Not all of these have been domesticated, however, and most species are only found growing in the wild.
Orchids in the Wild — From the Tropics to North America
Surprisingly, when in the wild, orchids don’t tend to grow in soil.
There are some terrestrial species, but most species prefer to be off the ground.
They can be found growing attached to other plants, such as on the branch of a tree.
The reason orchids do not like soil is their unique roots.
Their roots are covered with a coating of white, moisture-absorbing substance that requires exposure to air.
When growing on the ground, orchids tend to only grow on the topsoil, which is “airy,” not as dense, and humus-rich.
Although often associated with the tropics, there are also orchid species growing in the wild even in North America.
These are terrestrial types that can grow in forests and swamps, and unlike their tropical cousins, they can handle the cold temperatures.
Some species even require freezing cold temperatures to induce blooming, whereas the tropical types would not survive freezing temperatures at all.
The orchid family really is one of the most versatile in the world!
Sadly, many Native American orchid species are endangered.
Therefore, if you find them in the wild, you should never pluck them off the ground.
If you want a specific type of orchid that grows in the wild, you must obtain them from a nursery or a flower shop.
This is a much more ethical choice, as nurseries are usually dedicated to sustainability in their practice.
Some even rescue wild orchids if their habitat is in danger.
Other places where orchids are found growing in the wild include Hawaii, Peru, India, Japan, Mexico, Ecuador, and many more countries.
Nowadays they are found on every continent and virtually every country, but they originated from the tropical regions of Australia and Asia.
Different Types of Orchids
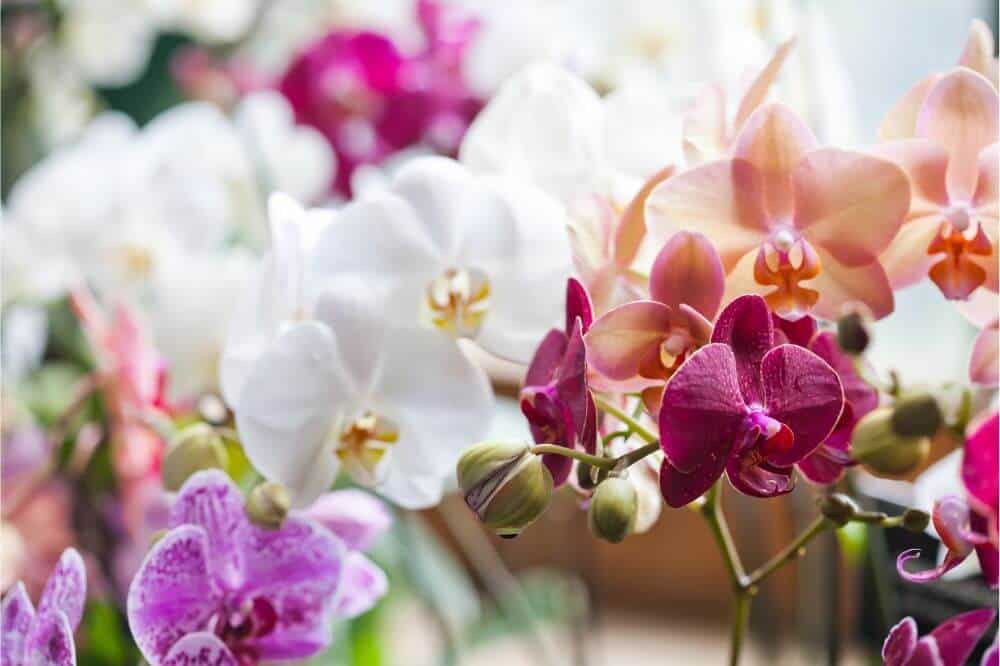
As there are over 28,000 different species of orchids, there is a wide variety in the types of orchids you may find.
The smallest orchid is only just over 2mm wide, and it’s petals are so thin they are transparent and only one cell thick!
This variety belongs to the Platystele genus and can be found growing in the wild tropics of Ecuador.
The largest orchid is the Grammatophyllum speciosum, also called the Queen of Orchids.
This species can grow to over 5 meters wide, weighs many pounds, and during a growth spurt, it can grow a whopping 15 cm per day!
It definitely deserves the crown.
Are Orchids Difficult to Grow Indoors?
There is a myth that orchids are very fragile and require extreme efforts to keep alive.
Orchids do require certain conditions to thrive and blossom.
But for a plant enthusiast, they require hardly any more work than some other common houseplants — plus they’re worth it.
The myth that orchids are fragile can be proven wrong by the fact that there are species of orchids found growing near the Arctic Circle, and even in the desert!
There are so many different types of orchids; some are tougher than others, and some are, in fact, fragile.
Having so many options to choose from, you should be able to find a good fit for your home by talking to some experts and doing your research before buying.
Why Do Orchids Get a Bad Rap? The Root of the Problem
So after finding out that orchids can survive in extreme conditions, you might be wondering why they have gained a reputation as the diva of the plant world.
The most common problem that new orchid owners usually have is understanding the roots.
We are used to seeing plants that thrive with their roots buried deep in the soil.
Therefore, it can be confusing to see the weird grayish-white roots coming off to the surface.
Growers may be tempted to cut or trim these for better aesthetics, and this is where problems might start.
Although tempted, you should never cut the roots!
Happy roots equal happy plants.
The other common mistake growers make is over watering their plants.
Most types of orchids require less watering than other plants, and if not careful, it is easy to kill the plant by over watering it.
If someone owns a lot of plants, and waters them all at the same time, the orchid might be getting a lot more water than it can absorb.
This means the roots are left to sit in wet soil, and will most likely start to rot.
This can cause the plant to wilt and die.
Tips for a New Orchid Owner
We know you may have heard that orchids are extremely fragile and very difficult to grow, and we have explained that this isn’t the case.
But they require a bit more careful handling than some plants.
They may grow on some unique mediums, but they do not take much more effort than any other plant.
Especially for a plant lover, keeping orchids is definitely worth the effort.
Just make sure you choose an easy variety, to begin with.
If you simply walk into a flower shop and buy the first plant you see, you might not know what to expect.
Do your research, talk to the staff at the flower shop or nursery, and find out what type of orchid would best suit your home.
Some species are slightly easier to take care of, and thus well suited for beginners.
The two most common orchids recommended for beginners are the beautiful phalaenopsis — also known as the moth orchid — and the gorgeous cattleya.
These two are relatively easy to take care of, and thus a good choice for someone new to the world of orchids.
An orchid newbie should preferably start with an orchid that is in bloom, or just about to bloom.
A plant in this stage is easier to take care of than one that is in a resting stage.
Plus, you get to enjoy the gorgeous flower right away!
There are just a few things you need to keep in mind for making sure your plant stays happy, such as watering and lighting, which we will talk about.
If you buy an orchid that is potted and healthy, don’t change it into a new pot.
If the orchid is happy where it is, there is no need to change its environment.
If your plant is still thriving in a couple of years, you may consider re-potting, but don’t do it just yet.
The Life Cycle of an Orchid — The First Stages
Although orchids are such unique plants, their life cycle does not differ much from that of an ordinary flower.
They go through the same stages: seed production, germination, seedlings, maturation into a plant, flowering and reproduction, and finally producing seeds.
One of the differences to conventional plants is that some of the stages take a lot longer for orchids than other plants.
For a seed to grow into an orchid, it can take up to two years.
Then it may take anywhere from 9 to 14 months for an orchid to complete a full life cycle.
The first stage of the cycle is pollination.
A chemical process is triggered to start the reproduction cycle, which causes the orchid to develop seed pods.
It will take between 6 to 8 months for the seed pods to fully mature.
During this stage, the plant needs a lot of extra energy to develop the seeds.
This means some leaves may die and fall off.
Those new to owning orchids may get worried when they see leaves turning yellow and falling off.
But this is only a sign that your plant is healthy and ready to reproduce.
It usually takes about 3 months for an orchid to flower after developing seed pods.
After flowering, the plant will usually grow more roots so that it can absorb more nutrients for when it is time to bloom again.
Depending on the species, the flower of an orchid will usually bloom for several weeks or months at a time.
How Often Do Orchids Usually Bloom?
Some types of orchids only bloom once a year, others twice a year, and some several times a year.
It is common for orchids to bloom every 8 to 12 months, but this really depends on the species and the environment.
Once they are blooming, the flowers may last as little as days, but more commonly weeks or months at a time.
With some careful planning and effort, it is possible to have orchids blooming all year round.
For this to succeed, you need to do your research on the types of orchids to buy.
No one plant will last for a whole year, but you may purchase several if you are keen on enjoying the blooming all year long.
This way, you may always have at least one orchid in full blossom.
How to Get Orchids to Bloom? Let’s Start With the Basics First
To get your orchids to bloom, you need to create the optimal environment for blooming.
This is not as tricky as it may sound.
You need to be consistent with watering — once a week usually does the trick.
If you feel like watering your orchid just in case, or think the more you water, the quicker it will bloom — wrong!
The most common mistake people make with their orchid is over watering.
Although orchids grow in the tropics, they need a lot less water than you may think.
Depending on which watering method you use — ice cubes, submerging, or directly pouring water — you should only water your plant once or twice a week.
If you see any excess water pooling on top of the soil, try to get rid of it gently.
If the soil is too wet, the roots may easily rot and kill your beautiful plant.
How to Water Your Orchid — Three Methods to Choose From
You may think there is only one method of watering plants — simply pouring water on them.
Although this is a common and usually effective method, it may not be best suited for orchids.
With pouring, you need to know the correct amount of water your plant needs.
If your orchid sits in a pot without a drainage system, there is no way to get the excess water off, should you accidentally pour in too much.
Some safer methods are submerging or using ice cubes.
Submerging works if your plant sits in a planting pot, inside a “decorative” pot.
Simply take the planting pot out, submerge the plant in water for 10-15 minutes, then pour the unabsorbed water out.
Let the plant drain for an extra 5 minutes to make sure no excess water is left in the pot.
This method should be used once a week.
With ice cubes, simply pop one on top of the soil twice per week, and the plant will absorb it at its own pace.
Optimal Lighting — A Key Factor in the Success of Your Plant
Another important key factor in successful blooming is the light.
To bloom, your orchid needs a lot of indirect sunlight.
Indirect light means the sun is not directly shining to the plant, but the light “bounces” off a wall, or is filtered through something.
An easy way to test if the lighting is ideal is the shadow test.
During the brightest moment of the day, put your hand next to your plant and look at the shadow it creates.
Can you only barely see a shadow?
No shadow or a very light shadow indicates there is not enough light.
A dark, almost black shadow indicates that the light is too direct.
A soft grey shadow is ideal.
It may not seem like a big thing, but lighting is one of the most important aspects of keeping your orchid happy.
Too much direct sunlight can give your plant a burn, even in only a few hours.
So if you are not sure about the placement of your plant, keep a close eye on it on the first day.
What if My Orchid Isn’t Blooming? Check the Temperature
The first things to troubleshoot are optimal watering and lighting, as discussed above, but if you feel you’ve got these down, there are still a few things to look into.
The first one is temperature.
Different orchid species thrive in slightly different temperatures.
For example, one of the most popular house orchids, the phalaenopsis enjoys a comfortable temperature between 65° and 80° F.
Most house plants will be comfortable at this temperature.
But, to be sure, you will want to research your specific orchid species to determine their ideal temperature.
One thing most orchid species have in common is that they enjoy having a colder temperature at night.
Unlike most common houseplants, orchids are used to experiencing variation in their environment and respond well to a slight difference in temperatures between daytime and nighttime.
This does not mean you should sunbathe your orchid all day and then freeze it at night; the difference should only be about 10-15°.
A slightly colder night will help to trigger your orchid to rebloom.
Another trick you can use to stimulate reblooming is using fertilizer.
Fertilizing Your Orchids — Why is it So Important?
Did you know Charles Darwin wrote a book about fertilizing orchids?
This tells us a bit about the importance of fertilizing your beloved plant.
One of the reasons orchids require fertilization much more than other house plants is its roots.
As discussed before, orchids tend not to grow in soil, and the roots are thus not made for absorbing nutrients from the soil.
This is how most terrestrial plants absorb their nutrients.
Instead, orchids use their tangled roots to trap mineral flakes, animal matter, soil grains, and other nutrients blown by the wind.
The plant then absorbs these nutrients.
However, there are also terrestrial orchids growing in the wild, which can absorb nutrients from the soil.
The other reason orchids require fertilization, is that when we bring them into our homes, they are removed from their natural environment, and instead put into a pot.
We usually plant them into a mixture of bark and moss, maybe some gravel.
This is quite an unnatural environment for the orchid to be in, and these materials provide very little nutrition once they break down.
Orchids require a lot of nutrients, and this environment is not able to provide it.
This is why fertilizer is essential, especially when your plant is about to rebloom, as this requires extra energy
When to Fertilize Your Orchids and How?
Most experts agree that fertilizing once every two weeks is enough.
Sometimes even once a month can do the trick.
You should start thinking about using a fertilizer only after your orchid has dropped all of its blooms, and is in a dormant stage.
Find a solution that contains equal amounts of phosphorus, potassium, and nitrogen (the label should read 20-20-20).
Do not pour the fertilizer in as it is, but dilute it to half of the strength by mixing it with an equal amount of clean water.
Fertilizer should be applied carefully to avoid burning the orchid’s leaves.
You might want to use a small, narrow-spouted pitcher to do this.
Put the diluted mixture in the pitcher and gently pour the fertilizer into the pot, straight onto the soil.
Be very careful not to get any on the leaves, as they will be easily irritated by the fertilizer.
Make sure no extra fertilizer is left to pool on the pot — drain the pot if needed.
Keep in mind that you should not water your orchids in the weeks that you fertilize it.
My Orchid Looks Ill — What Should I Do?
After your orchid has bloomed and dropped its flowers, it may look a little bit sad.
The leaves might be turning yellow and falling off.
This is normal; it just means your plant is saving up energy for its next blooming.
Keep taking good care of it by watering once a week and making sure the light and temperature are ideal for your specific orchid type and start fertilizing.
Other than that, there is not much you can do but wait for a rebloom.
If your orchid is wilting, however, or turning completely yellow, you may have an issue.
This indicates that the orchid is not happy about something in its environment, and if you want to keep your plant healthy, you need to figure out the problem and fix it.
The most common issues are over watering or under watering, lack of light, or lack of fertilizer.
Check these first. If you manage to adjust the environment to match your orchid’s needs, it should perk up again and rebloom sooner or later.
Sometimes orchids can droop, and this can cause owners to become concerned.
It’s good to know that there are species of orchids that are naturally “droopy.”
If the blooms are heavy and the stem is not thick enough, this will cause the flowers to droop.
Unless the flower petals are falling off, or the flower is turning brown, there is nothing to worry about.
The drooping may well be completely normal.
If you think your flower should not be drooping, and the plant looks wilted, you may have an issue.
In this case, check the above instructions for troubleshooting — check your lighting, watering, and fertilizing habits.
If your orchid is turning red, you should be a little worried.
This is a sign that your orchid is getting way too much sunlight, and it’s possibly getting burned.
Move your orchid somewhere else, and keep a close eye on it.
Orchids are sensitive to direct sunlight and can quickly get burned, even in a couple of hours.
Do the shadow test with your hand — the optimal light should produce a soft, grey shadow.
Is My Orchid Dead or Just Dormant?
A common mistake some plant owners make is thinking their orchid is dead after it has dropped its flowers and gone into a dormant stage.
Sadly, some even throw their lovely plant away at this point.
The stem may be shriveled and turn gray or brown, but this is completely normal.
The leaves may lose their brightness and start looking dull or flat.
Although this stage of the life cycle may look bad, it is completely normal.
Nothing in nature blooms all year round, and your orchid is no exception.
You just need to be patient.
However, sometimes orchids do die, just like any other plant.
This may be due to lack of proper care, such as over- or under watering, or lack of fertilizer.
Sometimes people think they are looking after the plant, but are merely guessing their orchids’ watering needs instead of doing their research.
This can end up killing the plant.
Although orchids are not as difficult as their reputation says, they do have specific needs that should be met to keep them happy.
However, even if you do your best and follow the instructions for your particular species, sometimes the plant comes to the end of its life cycle and dies.
Hopefully, at this point, you will have had many happy years with your orchid friend, and have a lot of pictures to keep as memories.
However, with the appropriate care orchids are long-lived and can keep reblooming over and over again!
10 Ways to Make Your Garden Look Beautiful
Guide to Orchid Blooming
So … Are you ready for the challenge?
Hopefully, by now, you are convinced that orchids are not impossible to take care of, and they can, in fact, be a delightful decoration in your home.
By now, you know the most important facts about keeping orchids, how to water them, how to optimize their light and temperature conditions, and how to use fertilizer.
With these basic instructions from our Orchid Blooming Guide, it should be easy enough to get started on your new hobby as an orchid grower!
Are Orchids Poisonous to Cats
How to Care for Orchids
How to Repot an Orchid
How To Water Orchids
How Long Do Orchids Live
Complete Guide to Orchid Types
Plumeria ~ A Beautiful Plant to Add in Your Garden