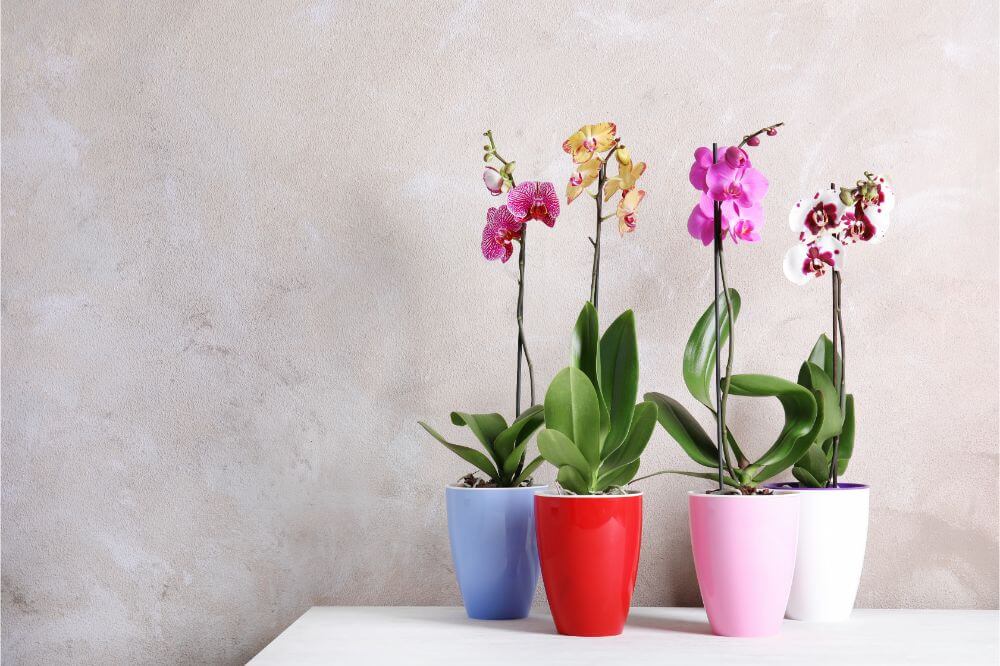
How to Repot an Orchid – Orchids belong to the Orchidaceae family and have more than 800 known types and more than 100,000 hybrid species.
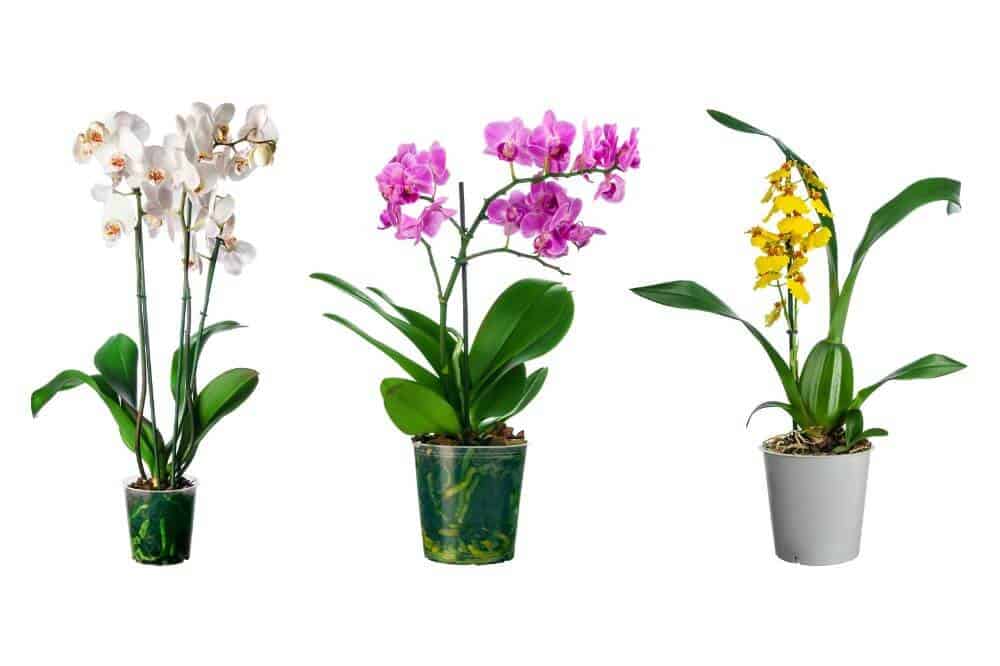
The main difference between orchid types can be seen in the size, color, and weight, and the actual differences can be extreme.
It is not well-known that the largest variety of orchid is the Grammatophyllum, which grows up to 3 meters in height, and was once sold for over $200,000 at auction.
On the other side, the most priceless is considered to be Kadupul flower. It blossoms only once a year, during the night, and withers before dawn.
Although orchids were once grown only by specialty hobbyists, they are very common in many homes today.
In the right conditions, they are very easy to grow. However, the biggest problem seems to be repotting the orchid.The main reason behind repotting the orchid is that they don’t grow like other houseplants.
Most plants put roots in the pot of the soil, but orchid’s roots exist in a container of loose materials, such as charcoal.
Repotting the orchid can be a bit scary for some gardeners since that is the time when orchids are the most vulnerable and susceptible to diseases.
If you don’t know how to repot it, you might kill the plant.
However, if you follow just a few tips, repotting an orchid can be a pretty easy job to do.
At first, one of the most important things is to decide when to repot an orchid, since timing is critical, and there are two ways to determine if the orchid needs repotting.
If you see white roots popping out of the container, it means that an orchid has outgrown its “home.”
This is a definite sign that it needs repotting.
On the other hand, orchids might need repotting depending on the time of the year.
For example, if you have an orchid that produces pseudo bulbs, it should be repotted right after flowering and before its roots begin to appear.
With regards to the other kinds of orchids, you can repot them anytime.
However, you should try to avoid repotting them while they are flowering.
Also, if you notice that some of the roots are rotting, and feel soggy, it is definitely repotting time.
It means that the potting material is no longer draining properly.
The other sign might be if you see more than one or two roots growing over the pot, which means that your orchid has overgrown its pot and needs more space.
Another great tip is to never repot an orchid unless it really needs repotting since you might easily shorten its lifespan and affect its growing cycle.
It should only be repotted if some of the above symptoms are noticed.
If not, you should definitely leave it in the same pot, at least for some time.
For an orchid, it is always better to be a little bit overgrown than to be repotted too soon.
Materials You Will Need
So, before you start, you should figure out which materials would you need to repot an orchid.
You should note that many orchids used as house plants are epiphytic, instead of terrestrial, which means that they don’t grow in soil.
Repotting terrestrials in soil is one of the mistakes that many people make with their first orchid.
If you repot them in the soil, there is a high chance that they will die.
However, a combination of sphagnum moss, charcoal, coconut husks, and fir bark will go well with most types of orchids.
You should have four parts of fir bark, a part of medium charcoal, and a part of perlite.
On the other hand, if you are not sure what type of orchid you have, and you don’t want the risk, there is a packaged potting mix which is a safe way to go for most epiphytic orchids.
If you are not sure where to find a potting mix, check any nearby garden centers.
If, on the other hand, you have a terrestrial orchid, you will need a soil that retains water well and has a high concentration of wood matter and perlite.
Another essential thing to consider is pot size.
Many people make the mistake of choosing too big a pot.
The actual size of the new pot should be just about an inch bigger than the previous one.
This is crucial because if the new pot is too big, the orchid will use its energy mostly on root growth, instead of growing flowers, which will have a big impact on the flowering process.
That way, you might not see its flowers for months.
The material of the pot should be plastic, clay, ceramic, or glass, and it should have drainage holes, otherwise, the roots will rot.
Some orchids also have roots that can photosynthesize, so in that case, you should find a glass pot.
Preparing Your Soil
The next step is to prepare all the materials that you have.
First, you should measure the potting material that you will need, then put it into the container, so that it fills about half of it.
However, to prepare the potting soil mix (material), you should first soak it in water and let it soak overnight.
This will make the mix retain enough moisture, so it will be ready for putting the orchid in it.
After you have put the potting soil mix in the container, you should fill the container to the top with hot water.
Also, the soil must be at room temperature before putting the hot water in the container.
The next step is to sieve the potting mix with a classic strainer.
All the water should be drained from the mix as much as is possible, and then the warm water should be run over the mix to rinse out any possible dust it will have.
Removing the Orchid from Its Old Pot
Carefully remove the orchid from its old pot, releasing it root by root.
If some of the roots are stuck, it is imperative to use clean equipment, such as scissors, since orchids are very prone to various diseases.
Sterilizing the tools can be done by wiping with pure alcohol.
Then, you should prepare the new pot.
If you have used that pot before for other plants, you should sterilize it with boiling water to kill all the potential bacteria.
When the new pot is completely clean, and all of the necessary materials are prepared, it is time for repotting the orchid.
However, make sure and double-check that you have done all the previous steps correctly since orchids are very susceptible to diseases and are prone to withering if not cared well.
Putting the Orchid in Its New Home
Now it is the time to put the orchid in its new pot.
You should put it in a certain way so that the old growth of the orchid goes to the bottom, and the new growth towards the sides, so that it will have more space to grow and spread.
Also, most of the roots should be below the surface of the pot.
Press the potting mix into the pot, and then pour some water around the roots.
You should do everything gently so that the new roots don’t get damaged.
Also, if some parts of the roots are left uncovered, they won’t be able to grow properly, so you should pay attention to that.
It might be easier to add the potting mix little by little so that you will be sure there are no air pockets in the mix when the orchid is repotted.
In the end, the mix should be at the same level as the top of the pot.
You have to make sure that the plant will be able to stand upright when the potting is finished so that it doesn’t fall over.
Basically, that’s it!
Continue taking care of your orchid as you did before, and place it in a spot with the optimal temperature level that orchid needs to grow.
That’s fundamentally the easiest, if not the only way to repot an orchid.
There are also a few handy tips on how to take care of your orchid once you have repotted it.
How to Take Care of Your Orchid Once You Have Repotted It
At first, you should create the right environment, since this is by far the most important factor for orchid growth.
You should use pots with drainage holes to allow excess water to run out of the holes.
If possible, you should put the orchid near a window that faces the south or east.
The reason for this is that orchids need strong but indirect light to grow.
If you only have a window that is facing west, you should cover it with a curtain to prevent your orchid from getting burned.
Also, you should maintain the right temperature in the room where you grow orchids.
The ideal temperature should be between 16° and 24° Celsius (60° to 75° Fahrenheit).
If it is too cold, orchids won’t be able to grow, and will eventually die.
In addition, a constant and gentle air circulation should be provided in the room.
Since most orchids don’t grow in soil, air circulation should be provided to keep the roots healthy and able to grow.
It might not be important in a colder period of the year when you can just open a window, but it is imperative to have proper air circulation during hot periods, like summer.
You should keep watering orchids the same way you did before the repotting.
It is crucial not to water them continually, but only just before they go dry, usually every few days.
The best way to check if they are dry is to stick a finger or two into the potting container, then pull out and rub together.
That way, you will notice if the orchid needs watering.
It is also essential to pay attention to the humidity in your home.
If it is below 40%, it’s not ideal for orchids.
In that case, use a spray bottle of water and mist orchids about once every day.
However, if the humidity is higher than 60% in your home, you should get a dehumidifier, which will also prevent the growth of fungi on the orchid.
While the orchids are flowering, they should be fertilized once a month, with a balanced liquid fertilizer, mixed at half-strength.
When flowers wither, you should cut off spent stems.
It’s not great work since most of the orchids don’t flower more than once a month.
At some point, you might notice that scale, or insects, appear on the orchid, which you should remove by hand.
If you don’t see any bugs, you might notice sticky leaves and black mold.
The bugs usually hide on the top and bottom side of leaves and flower stalks.
Then, the affected area should be cleaned with soapy water and gently wiped down.
The soapy water will kill all the remaining insects and probably even remove stickiness on the leaves.
If the problem occurs again, you should spray the orchid with an insecticide; however, be sure to buy an insecticide that is safe for orchids.
You might even need to cut off the diseased tissue.
For example, if you notice discolored leaves or spots, most probably your orchid is suffering from some disease.
At first, you should remove as much of the affected area as possible.
Note that most of the infections, if not all, should be treated with fungicide and bactericide.
Pseudobulbs are one of the most known orchid infections, which might cause brown rot, black rot, and dark spots on leaves.
However, when sprayed with a fungicide and bactericide, it should disappear after a few days.
Are Orchids Poisonous to Cats
How to Care for Orchids
Orchid Blooming Guide
How To Water Orchids
How Long Do Orchids Live
Complete Guide to Orchid Types
How to Repot an Orchid
Now that you know how to repot an orchid, the biggest problem is solved.
Repotting an orchid is very important, yet a little bit complex for beginner gardeners.
However, once you do it a few times, it will become pretty straightforward, and you will be able to repeat the process each time you get a new orchid.
Best Orchid Greenhouse Design Hacks For Orchids
Cheap Greenhouses For Orchid Lovers