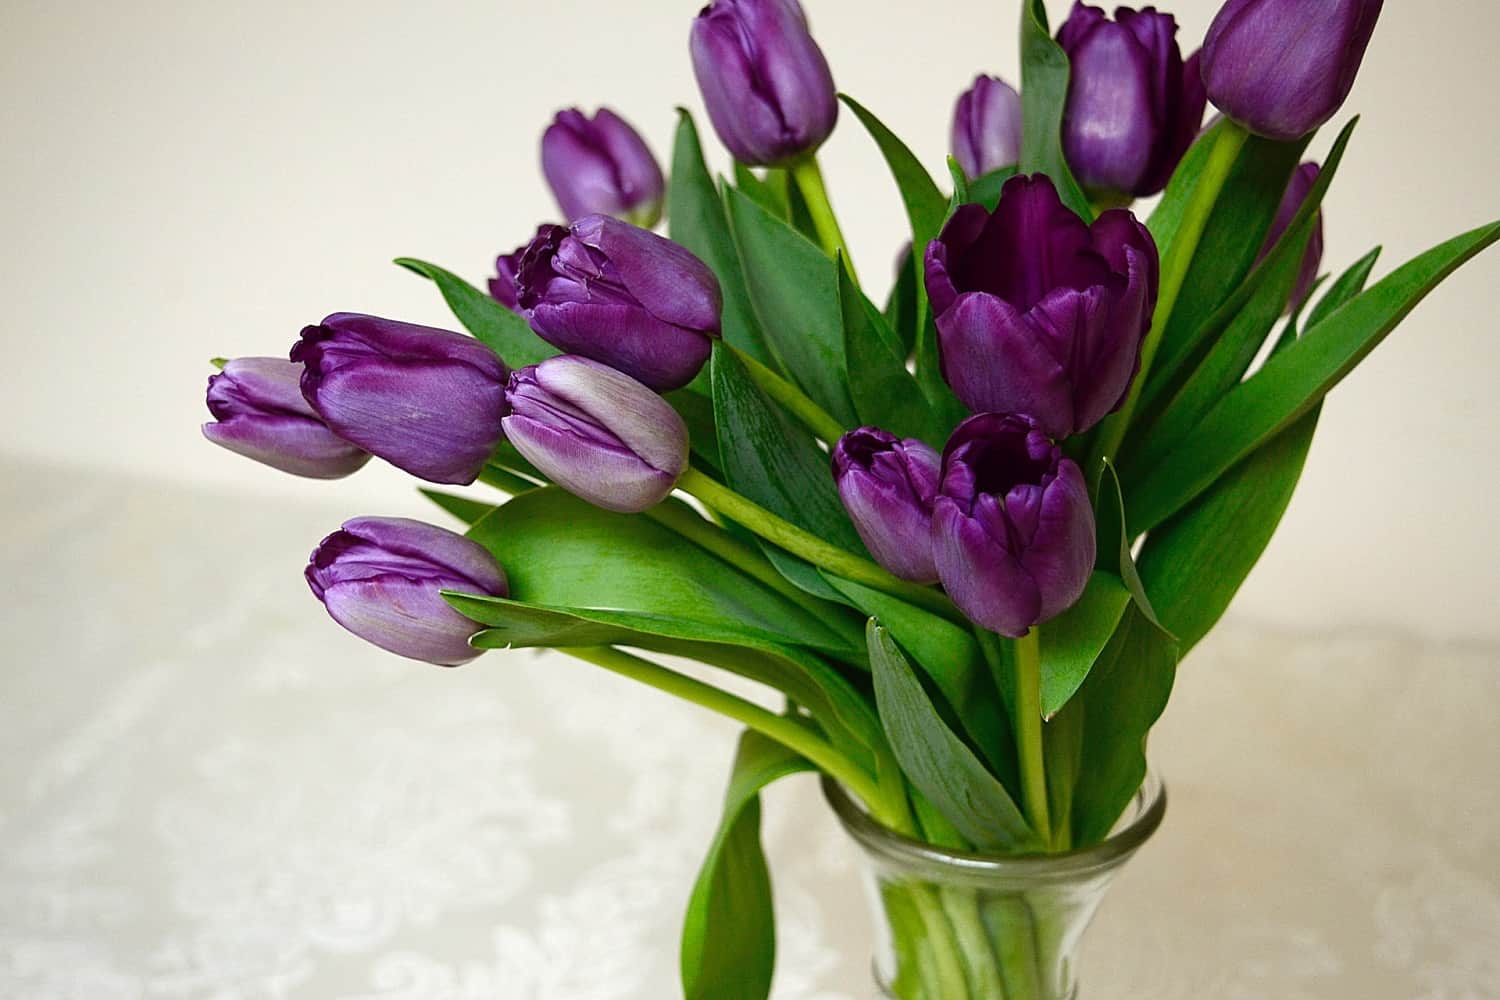
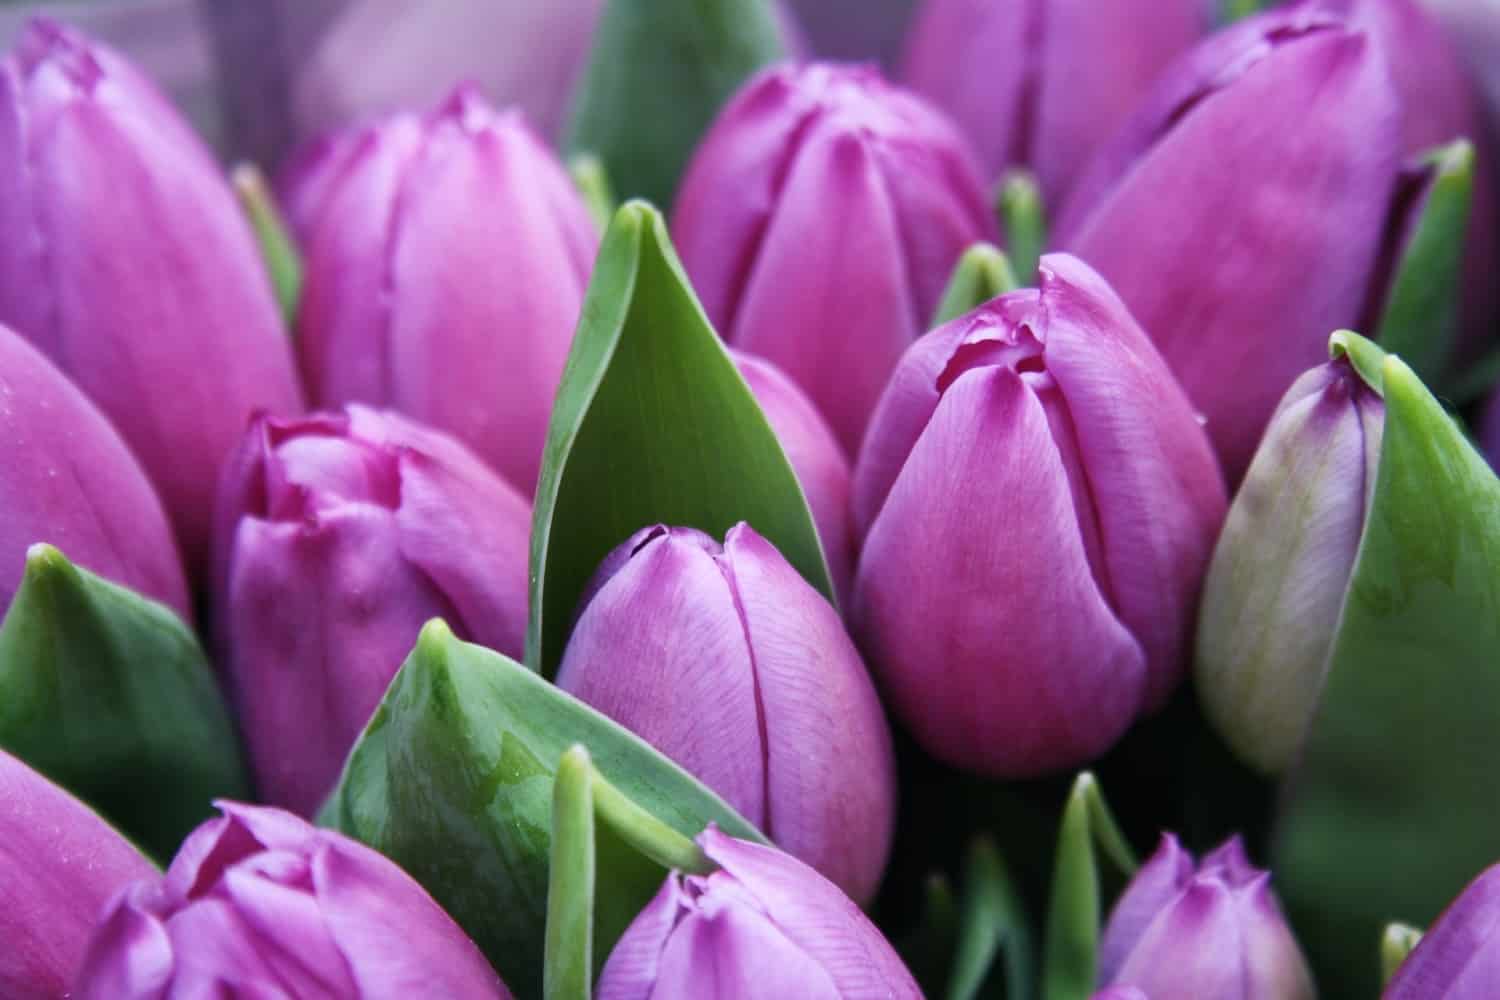
A Guide to Growing Your Own Thriving, Beautiful Purple Tulips ~ The color of royalty, purple tulips evoke strong feelings with help from their velvet-like petals. Purple is a great option if you’re looking for some jewel-toned perennial flowers that will bloom for multiple years with very little maintenance once you master a planting strategy.
Tulips can be planted alone, placed in groups or paired with other flowers to create ornate gardens full of luster.
The Beauty of Purple Tulips
Purple tulips are highly valued due to the way they stand apart from fairer petal shades in bouquets. A typical tulip will bloom for several weeks in the right weather conditions.
When cut, a tulip can provide beauty in a vase for up to a full week without showing signs of wilting or drying.
Can I Grow Tulips in My Climate?
Most of us picture sprawling tulip fields cut into the meadows of the Netherlands when we think of tulips. While these signature Dutch flowers originate in Europe, they are now grown by people all over the world seeking beautiful blooms.
You don’t necessary have to have the same climate as Holland to plant and nurture tulips as long as you can create the right soil conditions.
Are you interested in adding some beautiful purple tulips to your landscaping that will return year after year to your delight? Knowing where and when to plant tulips can help you enjoy that full, colorful look that will bring a touch of the Dutch countryside to your property! Take a look at what you need to know about planting tulips.
Where Can You Buy Purple Tulips?
Cut purple purple tulips can be purchased from any florist. However, you’ll really have to get down to the roots if you want to plant your own purple tulips by hand.
There are actually two options to choose from when planting tulips in a yard or garden.
- Plant tulip plants that are already growing. You’ll find these tulips at your local garden center or nursery.
- Plant pure bulbs. Typically, people have better results with pure bulbs because they are able to bury them deeper into the ground. A deeper bulb tends to have a better chance of surviving season after season. Unfortunately, factors like windy weather or animals can knock over your tulip plant before it achieves a firm root.
Many people have success with getting purple tulip bulbs from their local nurseries.
There is also the option to order bulbs online. This may make more sense if you are buying in bulk to plant hundreds of bulbs at once when creating a flower garden or doing landscaping around a property.
Ordering online can also give you a better selection of bulbs to choose from. For instance, you may be seeing a specific shade of purple that’s lighter or darker than the “classic” purple you may find at nurseries.
Heritage Bulbs
If you’re looking for heritage bulbs, you can consider ordering purple tulip bulbs directly from the Netherlands. Dutch tulip growers offer bulk orders of authentic bulbs from Holland.
If you’re creating a flower garden that you want to be the talk of your yard, being able to tell people that your purple tulips were shipped in from Holland can be fun.

When to Plant Tulips
Once you’ve purchased your tulips, the process of helping them to thrive begins. The tulip is one of the more interesting flowers to plant because the method defies conventional wisdom. Most people are used to getting flowers in the ground during the spring planting season in anticipation of summer blooms.
This is true if you’ll be planting regular tulip flowers that are already emerging. Be sure to plant new tulip plants only after you’re certain that the final frost has ended.
However, the optimal time for planting tulip bulbs for a spring bloom is actually in the fall.
When to Plant Tulip Bulbs
It’s important to plant your purple tulip bulbs about 6 – 8 weeks before the ground freezes for the season. That means that your optimal planting window will be bigger or larger depending on the climate where you live. It can be helpful to consult an almanac to learn about frost dates in your specific zone.
Trying to plant as close to the end of your frost window as possible is preferred because cooler temperatures actually help to prevent some of the fungus that is notorious for killing off tulips.
In addition, busy squirrels and chipmunks may plot to dig up your scrumptious-looking bulbs if you put them in the ground during the peak of pre-winter hoarding season for little creatures. Critters will be less interested in your bulbs if they’ve already created their stockpiles for the season.
Generally, it’s the right time to plant if the temperature is hovering around 50 degrees. If you’re in a northern climate, that usually means between the middle of September through the end of October.
Southerners can usually plant bulbs all the way into December. One tip for getting the most bloom for your buck is to plant several different varieties of tulips in one spot to ensure that you’re getting blooms all throughout spring.
How to Plant Tulips
Planting tulips is a mix of art, nature and science! It’s important to be strategic and methodical regarding where and how you plant your tulips to increase your odds of getting quality blooms. The “buried” nature of bulbs means that it can be tough to know if you got things just right until the next blooming season rolls around.
Let’s start with preparation. Buying or ordering your purple tulip bulbs as early as possible is recommended. You’ll get optimal results if you chill your bulbs for several weeks prior to planting.
When ordering tulip bulbs, you can often select a “chilled” option from your vendor. You’ll also need to prepare your planting spot ahead of time. Generally, tilling your garden bed or landscaping area down to 15 inches is ideal. You’ll want to also mix in a couple inches of compost.
Once the soil is waiting, it’s time to plant your bulbs. The single most important thing to know about planting purple tulip bulbs is that shallow bulbs simply will not not take.
You must plant tulip bulbs at least 7 to 8 inches down from the base of each bulb to get good results. Larger bulbs will require larger, deeper spaces.
You’ll also want to follow the same general rules for depth and spacing when placing tulip bulbs in container gardens.
Step-By-Step Planting Guide
- Dig a hole for each bulb that has soft, loose soil that will allow for moisture drainage.
- Next, place the bulb down in the hole with its “pointed” end facing up toward you.
- Cover the bulb thoroughly with soil to bury it.
- Press around the buried bulb to make the soil look “seamless.”
- Apply fertilizer.
- Lastly, water your tulip bulbs immediately after planting them in the soil.
Placement
You have a little bit of freedom in terms of placement because tulips can thrive when placed close to together. The Royal Horticultural Society (RHS) recommends planting tulip bulbs about 10-15cm (4 – 6 inches) apart.
Grouping 6 – 12 bulb together can give a natural look.
In one square foot, you can plant 5 – 9 bulbs maximum which will give a full look.
Planting purple tulips close together creates a magnificent, rich pool of color that really draws the eye to this part of your lawn. Purple bulbs can also be mixed next to pink, red and yellow bulbs to create a striking medley whether you have a small or large tulip garden.
You’ll find that tulips tend to thrive when bulbs are planted in loose soil that is easy to move and crumble in your hands. It’s also critical to plant them in an area of your yard with good soil drainage. Sandier soil is preferred.
According to Flower Magazine, tulips prefer a pH level between 6 and 6.5. Lastly, look for the sunniest spot possible when choosing where to plant your bulbs. Tulip bulbs love sunshine!
Is It Ever Too Late to Plant Tulips?
According to Almanac.com, you can plant tulips in the winter with positive results if you follow a few extra steps. First, you’ll need to clear away any snow or ice that’s covering your planting area.
Filling the soil with some fertilizer will help to create more of that “fall” soil environment that is so ideal for tulip planting. The next step is where the big “change up” from traditional bulb planting happens.
When planting tulips in the winter, place the bulbs over the soil instead of down in it. While it may seem counterintuitive, this is really your bulb’s only chance for survival.
You also want to avoid pressing your bulb into the soil. You will instead use mulch or compost to cover your exposed, ground-level bulbs. Using up to 4 inches of compost or mulch is ideal.
How to Grow Tulips
Planting your tulip bulbs is just one part of the story! You must also do work to “raise” your tulips to bloom. Luckily, it actually takes very little effort to grow beautiful purple tulips.
You may be wondering if you have to water tulips. Generally, you do not need to water tulips if you’re in a climate where it rains at least once a week. Do accommodate for any dry spells by watering bulbs at least once a week. You should not water your tulips during times of the year when the ground is frozen. Again, tulips should only be watered if there is a dry spell. Watering tulips in conjunction with regular rains will ultimately kill them.
You may notice that that the area around your tulips is moist. This is actually a big cause for concern because tulips are prone to disease and fungus when left to sit in wet, moist environments. You can often temper excess moisture in your yard by adding sand to the soil to encourage drainage.
When Do Tulips Bloom?
Tulips will bloom in the spring regardless of when you plant them. Your actual bloom time will depend on your regional climate and the type of bulb used.
Typically, they begin to poke up from the start of March through the end of April. You can also select bulbs with later blooms to stagger your bloom period into summer.
How to Care for Tulips
When you see your tulip leaves coming to life in the spring, a little bulb food or fertilizer can be helpful. You also want to make sure that tulip flowers get enough water. You can remove the heads once a tulip bloom withers.
However, you should never remove the leaves from the flower until at least six weeks after flowering. While you may not see the impact of removing leaves this season, this action actually decreases the amount of energy the tulip can store up for next year’s bloom
The beauty of growing your own tulips is that you can enjoy your own bouquets for a fraction of the cost of what you’d pay at a florist. When making bouquets, cut the stem of each tulip at an angle to preserve lifespan. You can also remove any leaves by gently pulling them away. Simply place your tulips in a vase with fresh water to enjoy their beauty!

