Learning how to make a fishing rod can help you when you’re in a pinch. Although it won’t be as sturdy as professionally manufactured rods, this DIY project can be an exciting task.
Thankfully, there are a few unique ways to repurpose everyday household items for building fishing rods. Here’s what it takes to make your own fishing rods.
There are several methods you can follow to make your own fishing rod. We explain how to make your own fishing rods using PVC or bamboo as well as how to make a fishing rod while outdoors.
How to Make a Fishing Rod Using PVC Pipe
By far, the easiest way to begin building fishing rods is to use PVC pipes. They are inexpensive, easy to work with, and can be easily sourced.
With this DIY project, you’ll have one of the more reliable fishing rods to use for an assortment of species.
DIY Fishing Rod Materials:
- Two PVC pipes (One 1/2″ and one 3/4″ in diameter)
- Two slip caps (One 1/2″ and one 3/4″)
- One female/male threaded connector (1/2-3/4″)
- One female/female threaded connector (1/2-3/4″)
- Medium-size binder clips
- Sandpaper
- Pre-made fishing reel
- The fishing line of your choice
- Pliers
- Drill (3/32″ bit)
- Saw
DIY Fishing Rod Directions:
Step 1: Cut the PVC Pipes
Take two PVC pipes, and use a saw to cut them to your desired length. When cutting, remember that the two pipes will be screwed together to create the full length of your rod.
We love this DIY project because you can follow it to make a rod for kids, as the lengths are customizable.
Once you’ve sawed your poles to your desired length, use sandpaper to finish any rough edges. You can also use it to get rid of markings and ink from the outside of the pipes.
Step 2: Fit the Connectors
Next, you’ll want to take your two slip caps and their connectors and attach them.
Fortunately, you can find the connectors from any hardware store, and they aren’t going to cost you more than $5 per.
Attach the connectors to either side of the PVC pipes so that you can screw them together to create a single pole.
Step 3: Prepare for the Eyelets
Before you begin creating your DIY eyelets, you must first prep the PVC pipes. You’ll want to use your drill and the 3/32″ bit to drill up to five holes through the 1/2″ pipe.
Depending on the length of the pipe, the number of holes may increase or decrease. Take special care to make sure the holes are spaced evenly.
Step 4: Assemble the Eyelets
Take your binder clips and pliers, removing the metal wire from each of the clips.
DIY enthusiasts are bound to love this step, as it’s the most creative out of the whole project. Ensure you don’t bend the wire when they’re removed, as it can affect your eyelets’ quality.
Once the metal has been removed, use pliers to bend the clip’s left leg over the right.
You should be left with a closed-loop on the top of the clip, and the legs should point inwards, facing each other.
Next, clip the wire legs into the holes that you had drilled on the PVC pipe. After this, you can quickly tell the closed loop at the top of the clips transforms into your fishing line eyelets.
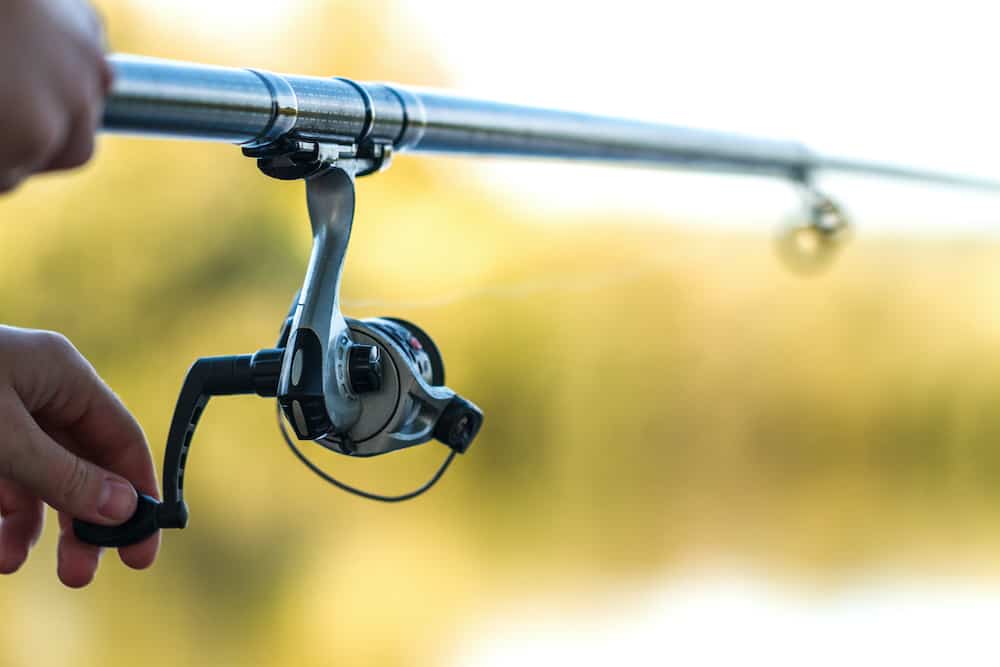
Step 5: Attach the Reel
It would be quite challenging to make a fishing reel, so we recommend investing in one separately.
You’ll want to use the same 3/32″ drill bit to put two holes into the side of the 3/4″ PVC pipe. Attach the reel with screws to hold it in place.
When you start shopping for a fishing reel, ensure you choose one that isn’t too hefty. Otherwise, it could compromise the integrity of the piping, causing it to bend.
Step 6: Assemble the Rod
Now that you have all of the materials affixed to either the 1/2″ or 3/4″ PVC pipes, you are ready to assemble your rod.
Using the threaded connectors we mentioned earlier, screw the two pipes together to form your fishing rod. You’ll also want to take your fishing line and spool it, running it through the eyelets.
Once finished, add your favorite sinker, hook, and bobber to the end of the fishing line.
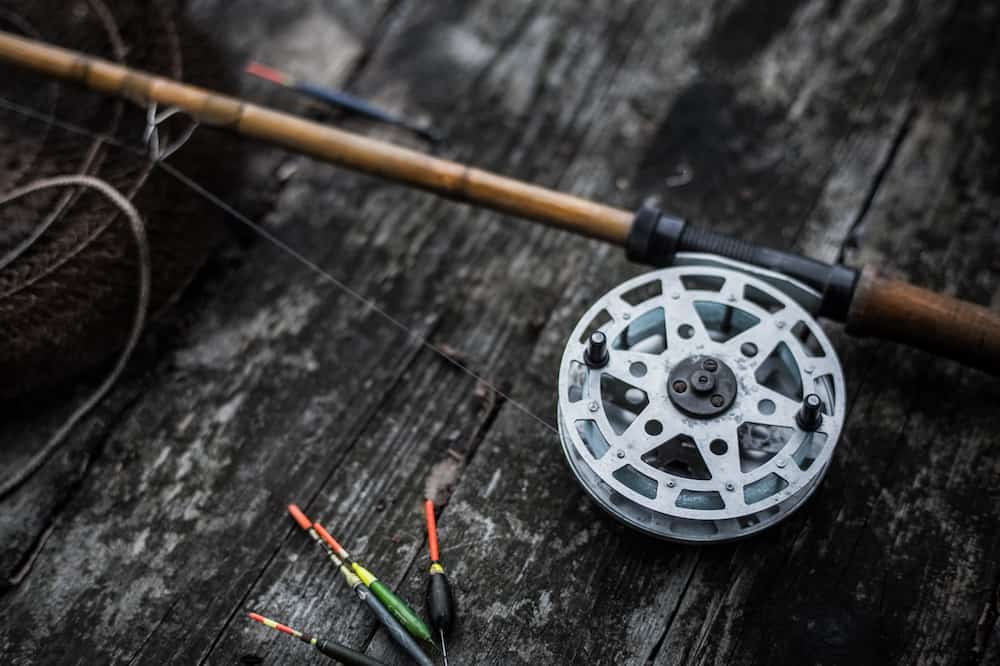
How to Make a Fishing Rod Using Bamboo
Before the invention of fishing reels, ancient civilizations would use sticks, such as bamboo, for fishing poles.
Wooden rods were used as far back as 2,000 BC in China to catch fish for survival. Today, you should be able to find most of the materials at hardware stores.
Bamboo Fishing Rod Materials:
- One bamboo cane (10 feet in length, two inches in diameter)
- Multitool
- Sandpaper
- Fishing line (Dacron)
- Hook, bobber, and sinker
Bamboo Fishing Rod Directions:
Step 1: Prepare the Cane
First, you’ll need to ensure your fishing rod’s central part is prepared before tying your fishing line.
Once you’ve found a bamboo piece in the right size, cut it at its base. The size of the bamboo will depend on your personal preference and your fishing style.
If you choose a cane that is too large, it can be incredibly cumbersome and heavy to hold. On the other hand, a pole that’s too short won’t give you the reach you need for further casts.
It can be a good idea to prepare two to three bamboo canes to ensure you’re covered if one breaks.
Smoothing the Cane
Using your multitool, smooth the cane as much as possible by removing bumps and numbs.
Make sure that it feels sleek and comfortable in your hands, with nothing sticking out to cause abrasions. You can also use sandpaper for this process if you want to finish the wood perfectly.
Drying the Bamboo
Next, you have to dry the cane pole, as wet bamboo doesn’t have as much resilience as when it’s dry. Make sure that you suspend the rod so that it can dry thoroughly.
To make sure it dries properly, store it in a warm and dry place away from direct sunlight. Exposure to UV rays while the bamboo is drying will cause the wood to become brittle.
Unfortunately, this is the most time-consuming step, as it can take three to four weeks for the wood to dry. You can tell when the bamboo is ready once it turns to a light tan color.
Step 2: Attach the Fishing Line
By now, your cane should be perfectly dried, and you can continue making the rest of your fishing pole. We recommend using Dacron, as it has impressive tensile strength and can be easily knotted.
Depending on the type of fish you’re going after, you’ll have to choose the appropriate weight for the line. Next, begin tying the line about two inches above your fishing pole’s handle. Ensure that you run the line up the length of the pole, which will allow it to bend with the line.
If you encounter a particularly strong fish, you’ll want to make sure the pole bends; otherwise, it will snap.
You can also cut four- to five-inch pieces of fishing line to tie around the first knot near the fishing pole’s handle.
However, make sure you don’t tie it too tight, or you won’t slide the line. To tie off the fishing line, use a whip-finish.
By the time you’re finished, you should have at least two extra feet of line hanging from the end of the fishing pole.
If you prefer to use a leader, we recommend using monofilament instead of Dacron. Using a leader means you won’t have to worry about restringing the entire fishing pole if it snaps.
Step 3: Attach the Sinker, Bobber, and Hook
You’ll want to determine what hook you’ll want to use for the end of your fishing pole.
It would help if you tied it along with a bobber and sinker to increase your chances of catching the fish’s attention. Once they have been added, your fishing pole is ready to be used.
How to Make a Fishing Rod When Outdoors
Love the outdoors? Have you ever had that experience where you thought you had everything packed, only to discover you forgot your fishing rods?
It’s likely you won’t have two pieces of PVC pipe or a long bamboo cane at your disposal.
As such, if you want a fun activity for kids, you’ll need to know how to build a fishing rod using the surrounding nature.
DIY Stick Fishing Rod
These fishing rod building instructions are easy to follow. They’re sure to keep your kids entertained.
DIY Stick Fishing Pole Materials:
- Sturdy stick (five feet, two inches thick)
- Survival knife
- String
- Fishing line
- Hook
Fishing Rod Building Instructions:
Step 1: Prepare the Stick
Using a wood ax or another chopping tool, find a reasonably sized stick to develop as the fishing pole.
If you have sandpaper, it will make this step particularly simple. Otherwise, you can use a survival knife or everyday carry knife to get rid of any leaves and branches.
You’ll also want to make sure there aren’t any knobs or bumps that could cut into the user’s hands.
Step 2: Attach the Fishing Line
To attach the fishing line, tie it to a thick string before you put it on the fishing stick.
Take the string and tie it on the stick’s narrow end, making sure it’s about four inches away from the tip. Ensure it is tight because if it unravels, it will fall into the water, as well.
Using your fishing line, tie about three to four feet worth of wire to the string to attach the hook. Then, tie your desired hook to the end of the fishing stick as usual.
If you find that your kids need more length to get their hook into the water, you can untie the string.
How Much Does It Cost to Build Your Own Fishing Rod?
Knowing how much does it cost to build your own fishing rod depends primarily on the materials you decide to use.
Obviously, if you hire a manufacturer to create a custom rod for you, it will be more expensive than simply using things lying around your house.
In fact, it might cost you relatively nothing (less than $20) to make your rod if you repurpose materials.
On the other hand, you can pay upwards of $600 to make a custom one with fishing rod manufacturers.
If you’re a casual angler, making your own rod to start with would be a wise choice, especially when it comes to costs. As you become more interested in fishing, you can learn about best braided fishing line, reels, and other features for fishing poles.
After all, you still need to take fishing licenses into account. Your state will have its own price for a fishing license, often around $25 for residents and up to $70 for non-residents.
Make Your Own Fishing Rods for a Custom Touch
Learning how to make your own fishing rods can surely add a custom touch to your fishing experience. It can be a better idea for beginners to know how to make a fishing rod from scratch to save costs.
What’s more, you’ll find that it’s a fun family activity for camping and impromptu fishing trips. Using these DIY instructions for building fishing rods give you options to try out your hand at making custom fishing rods.
- Types of Fishing Reels