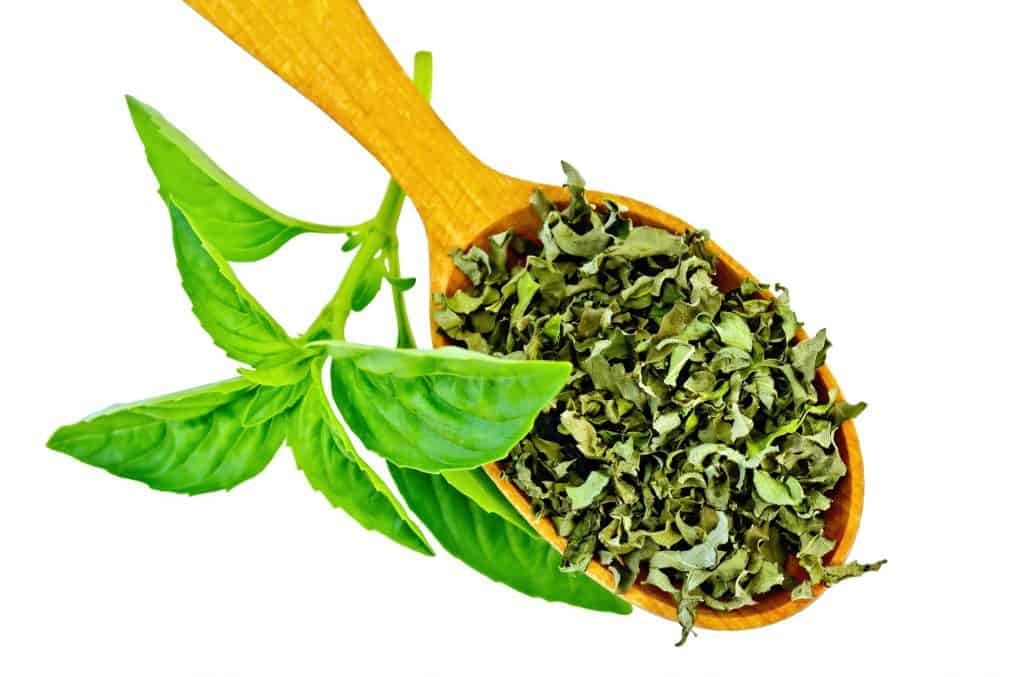
Learn how to dry basil so it doesn’t go to waste and so you can use it throughout the year. Plant a few basil plants in the spring. By the middle of summer, you’ll have more delicious basil than you know what to do with.
If you’ve ever grown basil, you know how prolific they are. Not only is basil fast-growing and hearty, but the more leaves you harvest, the more it grows.
With all these fragrant leaves, you’ll need to know how to properly dry and store basil so you can enjoy this delicious herb all year.
Before beginning, consider:
- If you have a lot of leaves to dry
- How much hands-on time you want to spend
- How quickly you need the basil to dry
Read on, and we’ll cover everything you need to know about how to dry basil leaves, including the pros and cons of each method.
How to Dry Basil
The great news is there are different ways to dry basil. Some methods are faster or easier than others. After harvesting basil, you can go about it different ways.
- Air drying indoors
- Oven
- Microwave
- Food dehydrator
- Tiered herb drying rack
- Sun
Depending on how much fresh basil you need to dry, the resources you have available, and how quickly you need to do it, you’ll find an easy method for preserving fresh basil that works for you. The process is the same for all basil varieties. There are many types of basil.

Air Dry Basil
The easiest and most economical way to dry basil is to allow it to slowly air dry on its own indoors. While this method works like a charm, the downside is that it can take several weeks for the herb to completely dry so that they’re ready for use.
The most important thing to do when air drying herbs is to ensure that the leaves, stems, and any other parts of the plants are completely dry and free of moisture before you hang them up to air dry.
If the plants are wet or damp when you hang them, this will encourage mold growth, which will ruin your plants.
The optimal place to air dry basil is any room in your home that’s between 60 – 80° F with good air circulation. Try and find a place where you can hang the basil so that it’s out of the way, but not so far out of the way that you forget about it completely.
Basil needs to be out of direct sunlight so keep it away from windows. A closet or cabinet is ideal, however, there needs to be airflow.
Temperature, humidity, air flow and air circulation, and light will all affect how long it takes to dry the leaves.
There’s not much you need to get started.
Materials:
- Twist tie, piece of twine, or metal wire
- Hook, paperclip, or another twist tie; some way to hang basil from the ceiling
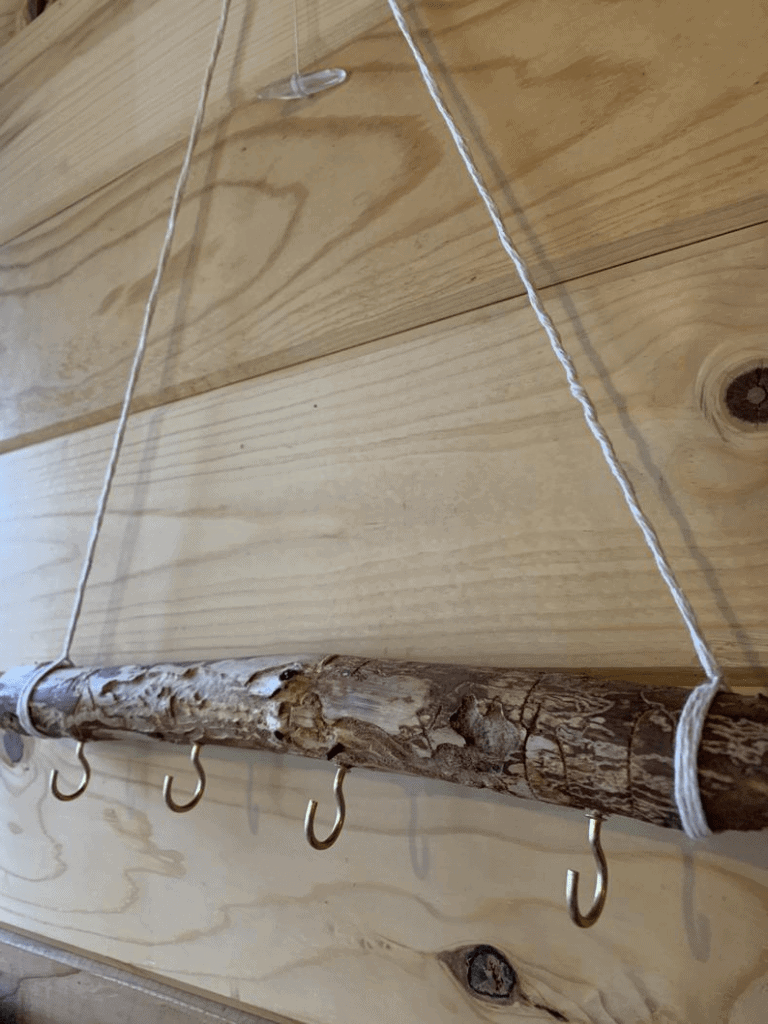
Or you can use an herb drying hanger or herb drying rack. You can DIY one from a dowel rod or get creative using one or more sticks. There are some on Etsy for sale as well.

Here’s how to air dry basil:
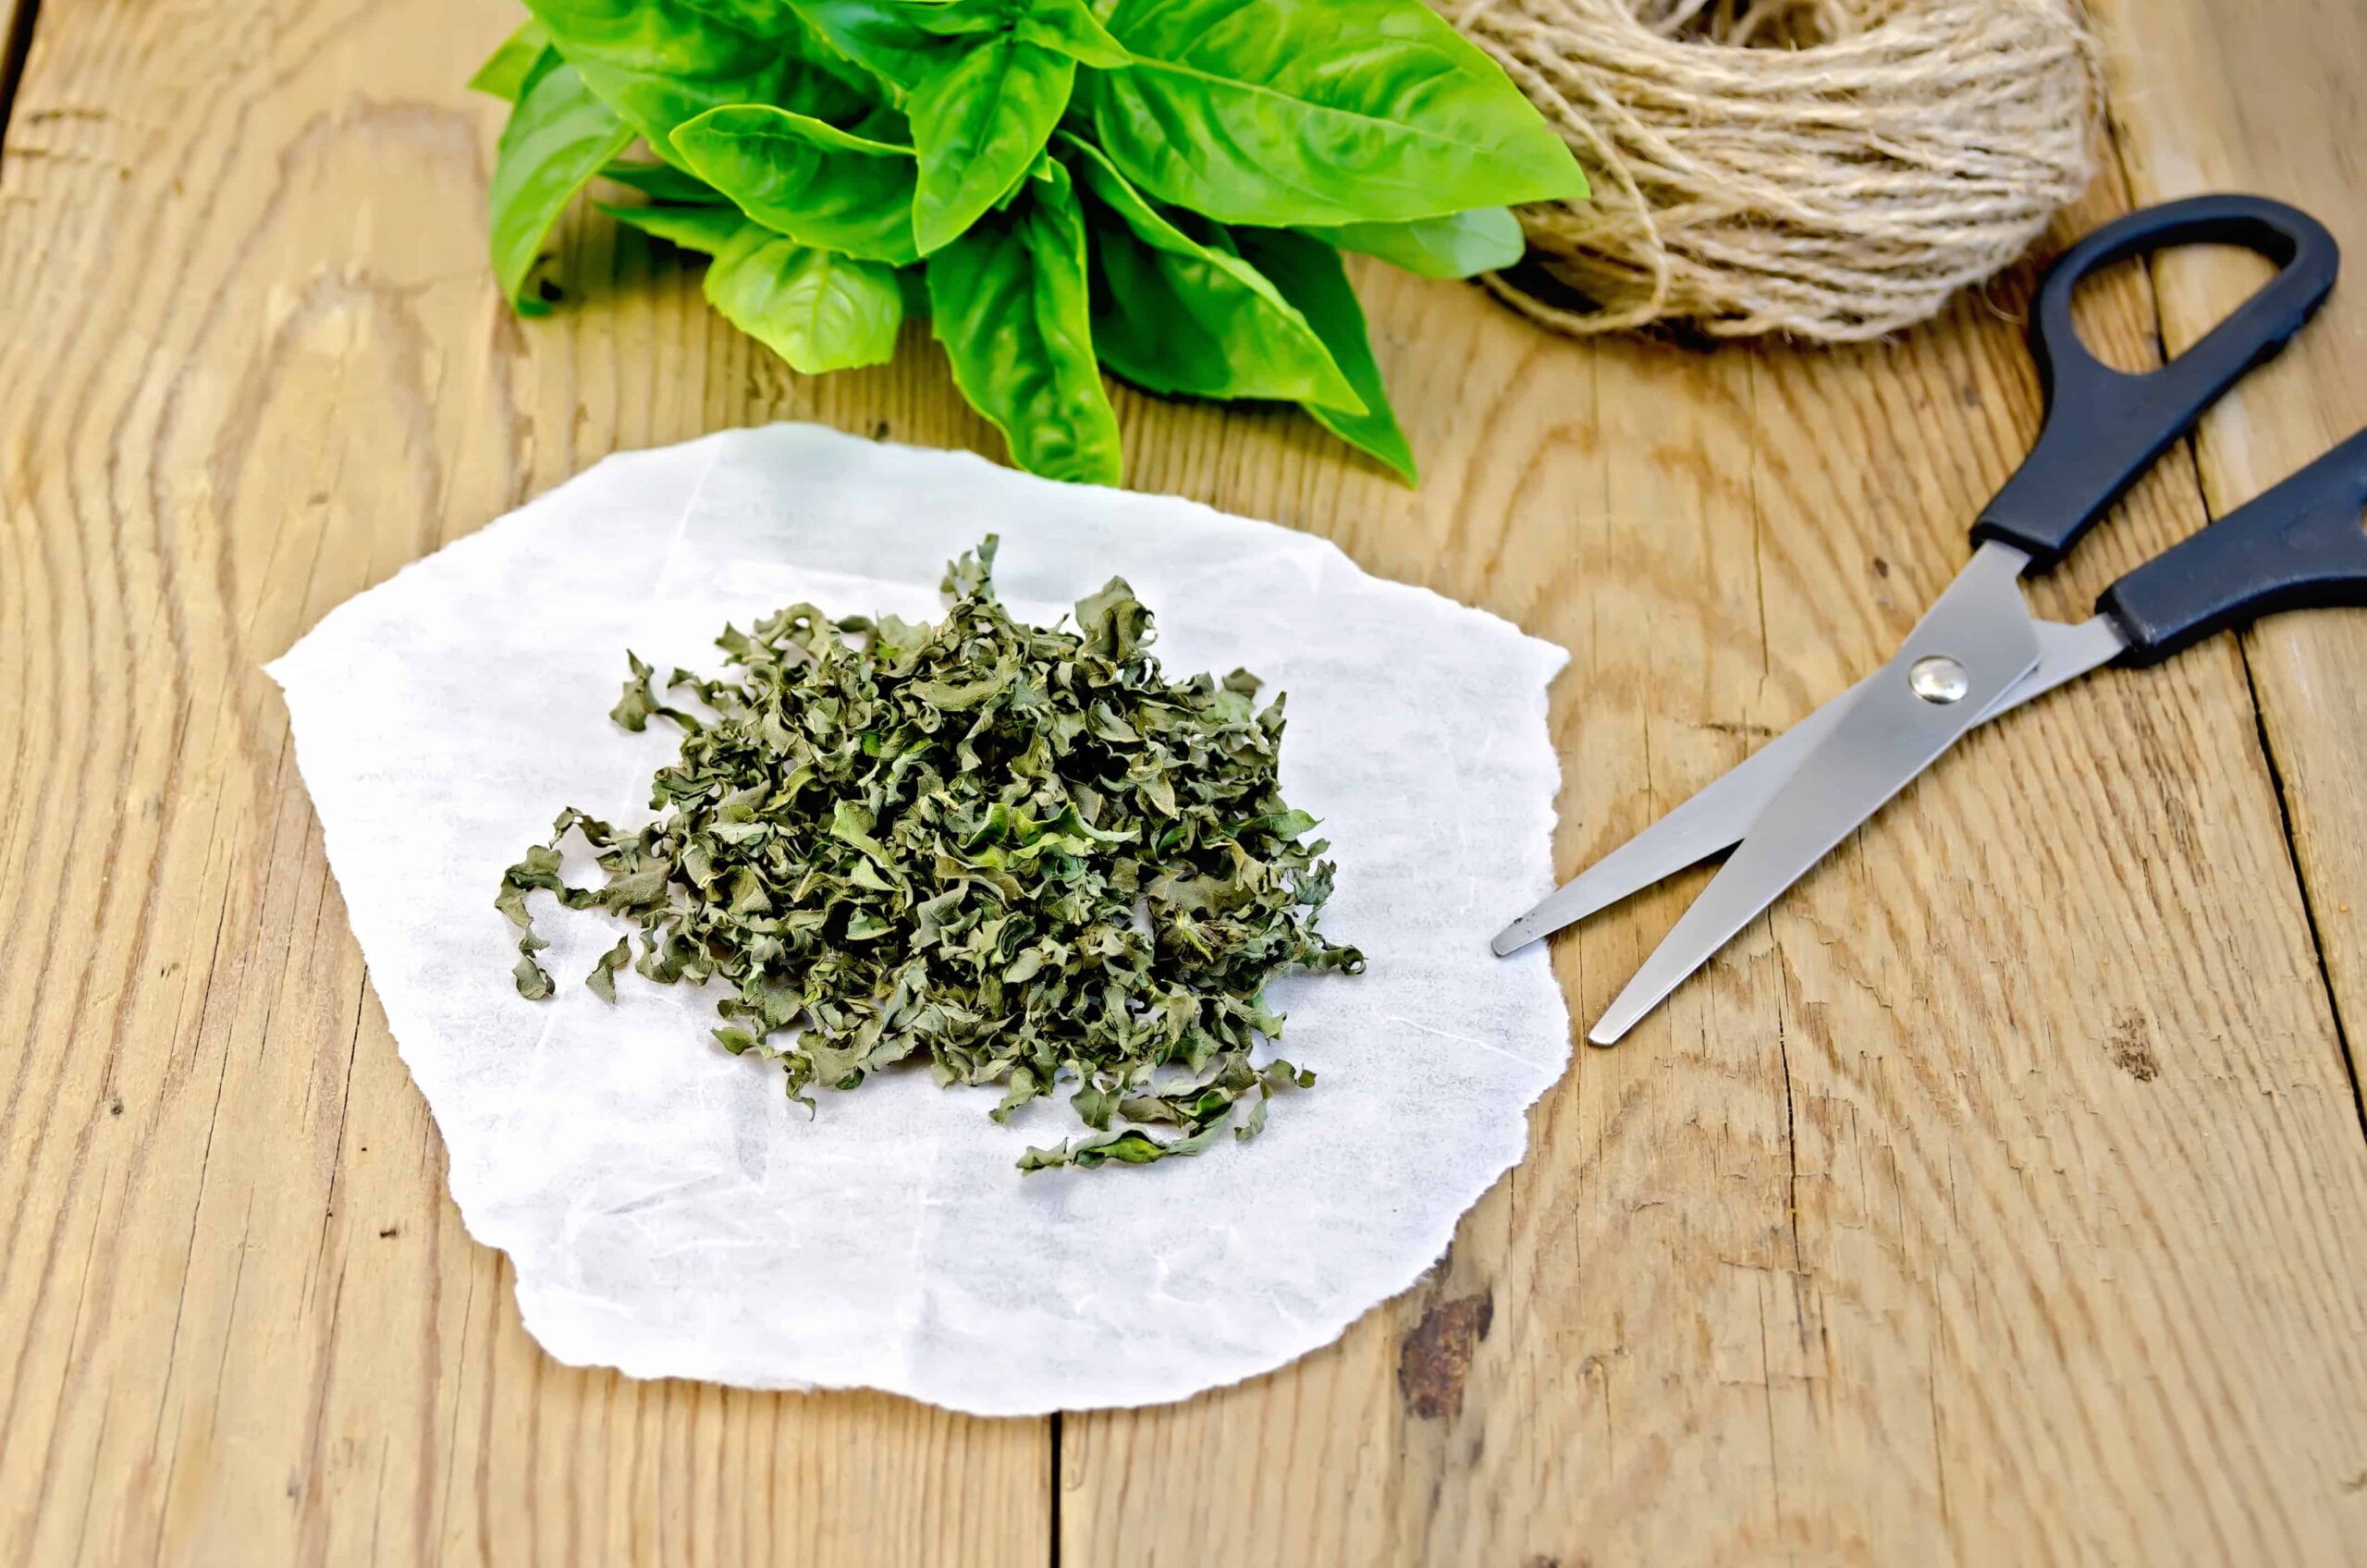
- Using scissors, clip off however many sprigs of basil you’d like to dry
- Gather 4 – 5 the basil sprigs together, and bind them together at the stem with a twist tie, wire, or piece of twine
- Hang the sprigs upside down in a temperature room with decent airflow
- Repeat for the remaining basil springs
- Allow the basil to hang dry for 2 – 4 weeks
- It may take longer to dry depending on the humidity inside the room.
Pros to air drying basil
- Low cost
- Simple to do
- Eco-friendly method
Cons to air drying basil
- Takes longer than other methods
- Need somewhere to hang it that isn’t bright
- Area must be well-ventilated
- Basil must be completely dry
Dry Basil in the Oven
If you’re hoping to enjoy some delicious dried basil, but you don’t have time to wait for your herbs to air dry, you can supercharge the process with the help of your oven.
Drying basil in the oven is a simple and fast way to enjoy some tasty dried basil with your next dish.
Materials:
- Cookie sheet
- Piece of parchment paper or two
- Oven
Metal darkens basil leaves, and parchment paper helps prevent this so you can enjoy bright and healthy-looking dried basil.
Here’s how to dry basil in the oven:
- Preheat your oven to 200 degrees F
- Using scissors or your fingers, pluck basil leaves from plant
- Gently wash the basil leaves to remove any dirt and debris and pat them dry
- Line a cookie sheet with parchment paper and arrange the leaves in a single layer
- Place the basil on the top rack for 20 minutes
- Turn off the oven, but leave the basil inside for several hours before removing
The basil should be crumbly when you remove it from the oven.
The key to delicious dried basil in the oven is to make sure you’re working at a low temperature. If you dry the basil at a higher temperature, it will impart a bitter flavor to the herb.
Pros to drying basil in the oven
- Not a lot of hands-on time
- Easy
- Faster than airdrying
Cons to drying basil in the oven
- You’ll have to repeat the process multiple times if you have a lot of basil leaves to dry

Dry Basil in the Microwave
This is the fastest method. If you need to dry basil for immediate use, the air-drying and oven methods aren’t going to work fast enough for you.
If you have a microwave and about five minutes, you’re well on your way to enjoying some delicious dried basil.
There’s an art to drying basil in the microwave, and after you’ve done it a time or two, you’ll be an expert in your own right.
It may seem like a less-than-ideal method, but using the microwave can help to preserve the aroma and color of fresh basil.
The key to tasty dried basil in the microwave is to work in short bursts to prevent the herb from becoming burnt or overheated.
Materials:
- Paper towel or kitchen towel
- Microwave
How to dry basil in the microwave:
- Using scissors or your fingers, pluck as many basil leaves from the plant as you need
- Wash the basil leaves and gently pat dry to remove as much surface moisture as possible
- Lay out the leaves in a single layer on a paper towel or kitchen towel and put them into the microwave
- Microwave the leaves on high in 20 – 30 second bursts, checking the basil after each time
- Continue microwaving in short bursts until the leaves are dry, brittle and curling at the edges
- Note how long it took for the future
Pros to drying basil in the microwave
- Fast
- Good method for small amount of basil leaves
Cons to drying basil in the microwave
- Must monitor for over-drying, scorching and burning
- Basil may lose some flavor
- Leaves may not all be uniformly dry
- Learning curve to learn the time it takes; may need to adjust depending on microwave wattage
Learn how to harvest basil so you get lots of leaves.
Food Dehydrator
A food dehydrator is perhaps the best way to dry basil, particularly if you’re drying large quantities at the end of the season so you have delicious basil to use throughout the fall, winter, and spring months.
Food dehydrators look like tiny ovens. They circulate air evenly around the food being dried which promotes even and consistent drying.
A dehydrator will allow you to achieve flawless results each time you dry basil or any other herb. These appliances are a smart addition to your kitchen if you like to dry your own fruits, vegetables, or beef jerky.
Most dehydrators have multiple racks inside, which allows you to dry more basil at once. If you regularly need to dry large quantities of herbs or anything else, it may be smart to invest in a food dehydrator.
Dehydrating basil is very similar to drying it in the oven.
Materials:
- Paper towel or towel to dry basil leaves
- Food dehydrator
Here’s how to dry basil in a dehydrator:
- Use your fingers or scissors to harvest basil leaves
- Wash the leaves and pat them dry with a kitchen towel or paper towel
- Place the leaves in a single layer onto one of the racks inside the dehydrator
- Repeat the process for as many leaves as you have
- Turn on the dehydrator to its lowest setting for 4 – 6 hours
With most dehydrators, the lowest setting is the way to go. Some dehydrators have special modes for drying herbs, or they may offer setting recommendations for drying herbs in the owner’s manual.
Before you get started, see if your dehydrator offers any guidance on drying herbs, and follow their advice where possible.
How to Dry Fresh Basil Using an Herb Drying Rack (Tiered Shelves)
This is a newer method and perhaps the easiest and one of the best if you don’t need to dry basil quickly. Herb drying racks offer several advantages.
- The newer ones are made with food-safe nylon and polyester.
- It folds flat making it easy to store.
- It’s enclosed with different tiers made with breathable mesh, enabling you to dry a lot of basil simultaneously.
- Each tier has a zipper to secure the basil or other herbs.
- They are available in different sizes. Most common are 2, 4, 6, or 8 tiers. (Think of each tier as a shelf.)
Most of them come in black and dark colors to keep the sunlight out. Each will have a ring on the top so you can secure it to a hook and suspend from the ceiling indoors, a planter hook outside, etc.
In addition to drying herbs, you can use the herb drying rack to dry other things as well such as flowers, soap, art projects, etc..
Materials:
- Herb drying rack with tiers
How to dry fresh basil leaves with an herb drying rack:
- Harvest, wash, and dry basil leaves
- Unzip compartments and put leaves in a single layer
- Zip compartments
- Hang indoors or outdoors, being careful to avoid direct sunlight
- When leaves are brittle, unzip and remove leaves.
Pros to using an herb drying rack
- Easy to dry dozens of leaves at once
- Leaves are contained and protected; won’t blow away or be disturbed
- Can hang indoors or outdoors
Cons to drying basil on a rack
- May take several weeks, depending on humidity and temperature
- Not as natural as hanging to air dry
- Basil rests on polyester and manmade materials
Dry Basil Leaves in the Sun
Sun-drying basil is another option. This works best if you live in a hot and dry climate. This is a viable option but you’ll need to ensure you either have the right materials to protect the basil from blowing away or ideal outdoor conditions (no wind).
Basil leaves have a high oil content. This method works best in dry climates with very low humidity.
Materials:
- Thin towel or t-shirt
- Wire mesh
- Instead of above, you can use an herb drying rack as well
How to dry fresh basil in the sun:
- Wash and dry basil
- Set towel, t-shirt or sheet in an area that will receive maximum sunlight, at least six hours
- Arrange leaves in a single layer
- Lay wire mesh on top to prevent basil from blowing away
- In the late afternoon, access leaves. If they aren’t brittle, repeat the following day.
Much depends on conditions. One hot, sunny, dry day may be enough to dry the leaves. It depends on where you live and the conditions that day.
Pros to sun-drying
- Good for small quantities of basil
- Eco-friendly
Cons to sun-drying basil
- Need ideal weather conditions: dry, sunny, and no wind
- Must secure leaves (can cover with large colander if it’s not humid)
- Difficult to gauge how long it takes
- Can be time-consuming
- Difficult to dry a lot of leaves at once
Drying Basil
Any successful basil gardener knows how easy growing a basil plant is. You can break off stems, root them, and grow new plants quickly.
Learning how to prune basil will encourage new growth to yield big, bushy plants.
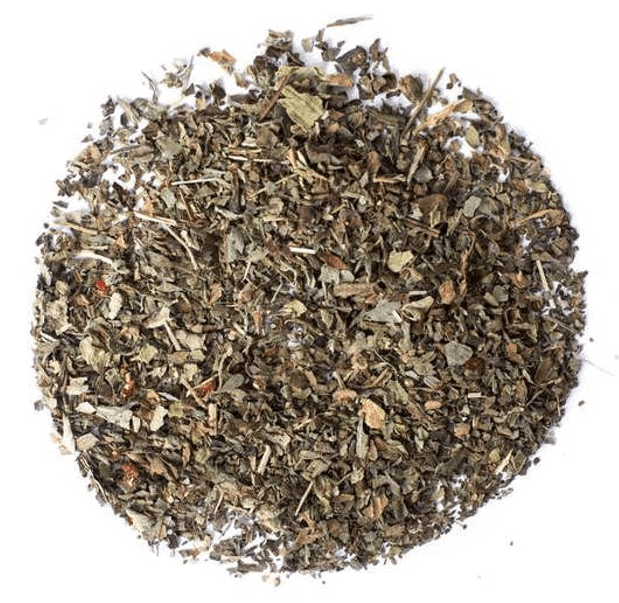
Drying fresh basil gives you a means to store the basil for future use. You can use it throughout the year in recipes.
With extra basil, you can put it in glass jars and pass out to neighbors, use as gifts, or sell it as an additional income source.
How to Store Dried Basil
Dried basil has an impressive shelf life, and you can keep it on hand for about two years after it’s been dried. To do this, you’ll need to store your herbs properly to ensure it’s ready for use when you need it.
Fortunately, basil isn’t too fussy about how you store it. If you follow a few simple guidelines for storage, you’ll be able to add plenty of fragrant and flavorful basil to your next dish. Here’s what you’ll want to do.
- Decide whether you want to store leaves intact or crush them
- Choose an airtight container and ensure it’s completely dry before adding herbs
- Fill the containers with crushed basil or the whole leaves
- Store the basil somewhere temperate, 60 – 80°F is typically best
- Store in a closed cabinet
- Keep the herbs out of sunlight as much as possible
Mason jars and baby food jars make great containers for storing basil. You can purchase small glass jars for herbs as well. You will fit a lot of dried basil in these containers which is ideal to save space in your cabinet.
If you don’t have space in your cabinets, store your basil in black or brown jars to prevent sunlight from discoloring your herbs.
Dried basil is very hearty, so even if it’s not stored under ideal conditions, you’ll still be able to use it in your next dish. However, it won’t be as fragrant or flavorful as dried basil that you store properly.
Why Dry Fresh Basil Leaves
If you’ve ever enjoyed a pizza, spicy pad thai, or a hot bowl of pho, you may have wondered where the somewhat sweet, spicy, and herbaceous flavor is coming from.
Of course, we have the tasty basil leaf (Ocimum basilicum) to thank for that. Dried basil is popular in many recipes to flavor sauces, salads, pasta dishes, poultry, and meat dishes.
Incredibly versatile, delicious, and easy to grow, it’s no wonder why gardeners rush to plant copious amounts of basil once the weather warms.
Learning how to dry basil leaves is crucial if you plan on getting the most out of your garden this season. Enjoy delicious fresh basil during the summer months, and dry the extra at harvest time so you can enjoy delicious basil year round!
When it comes to drying basil leaves, there are several methods that work well.
The fastest method is the microwave. Perhaps the best method to ensure uniformly dry leaves is using a food dehydrator, paying special attention to the way the instructions explain how to dry herbs.
Remember, ovens and microwaves are all different. Wattage and high elevation are factors. You’ll need to use trial and error. Note what worked so you can dry leaves again successfully.
A food dehydrator can be a versatile appliance if you will use it to dry fruits and other herbs.
If you have the space and the patience, air drying basil and hanging it from the ceiling is a tried and true method for drying basil leaves. If you find yourself with a bountiful harvest and want to pursue drying fresh herbs, you may consider purchasing a tiered herb drying rack.
Another herb you can dry like basil are leaves from the stevia plant.

