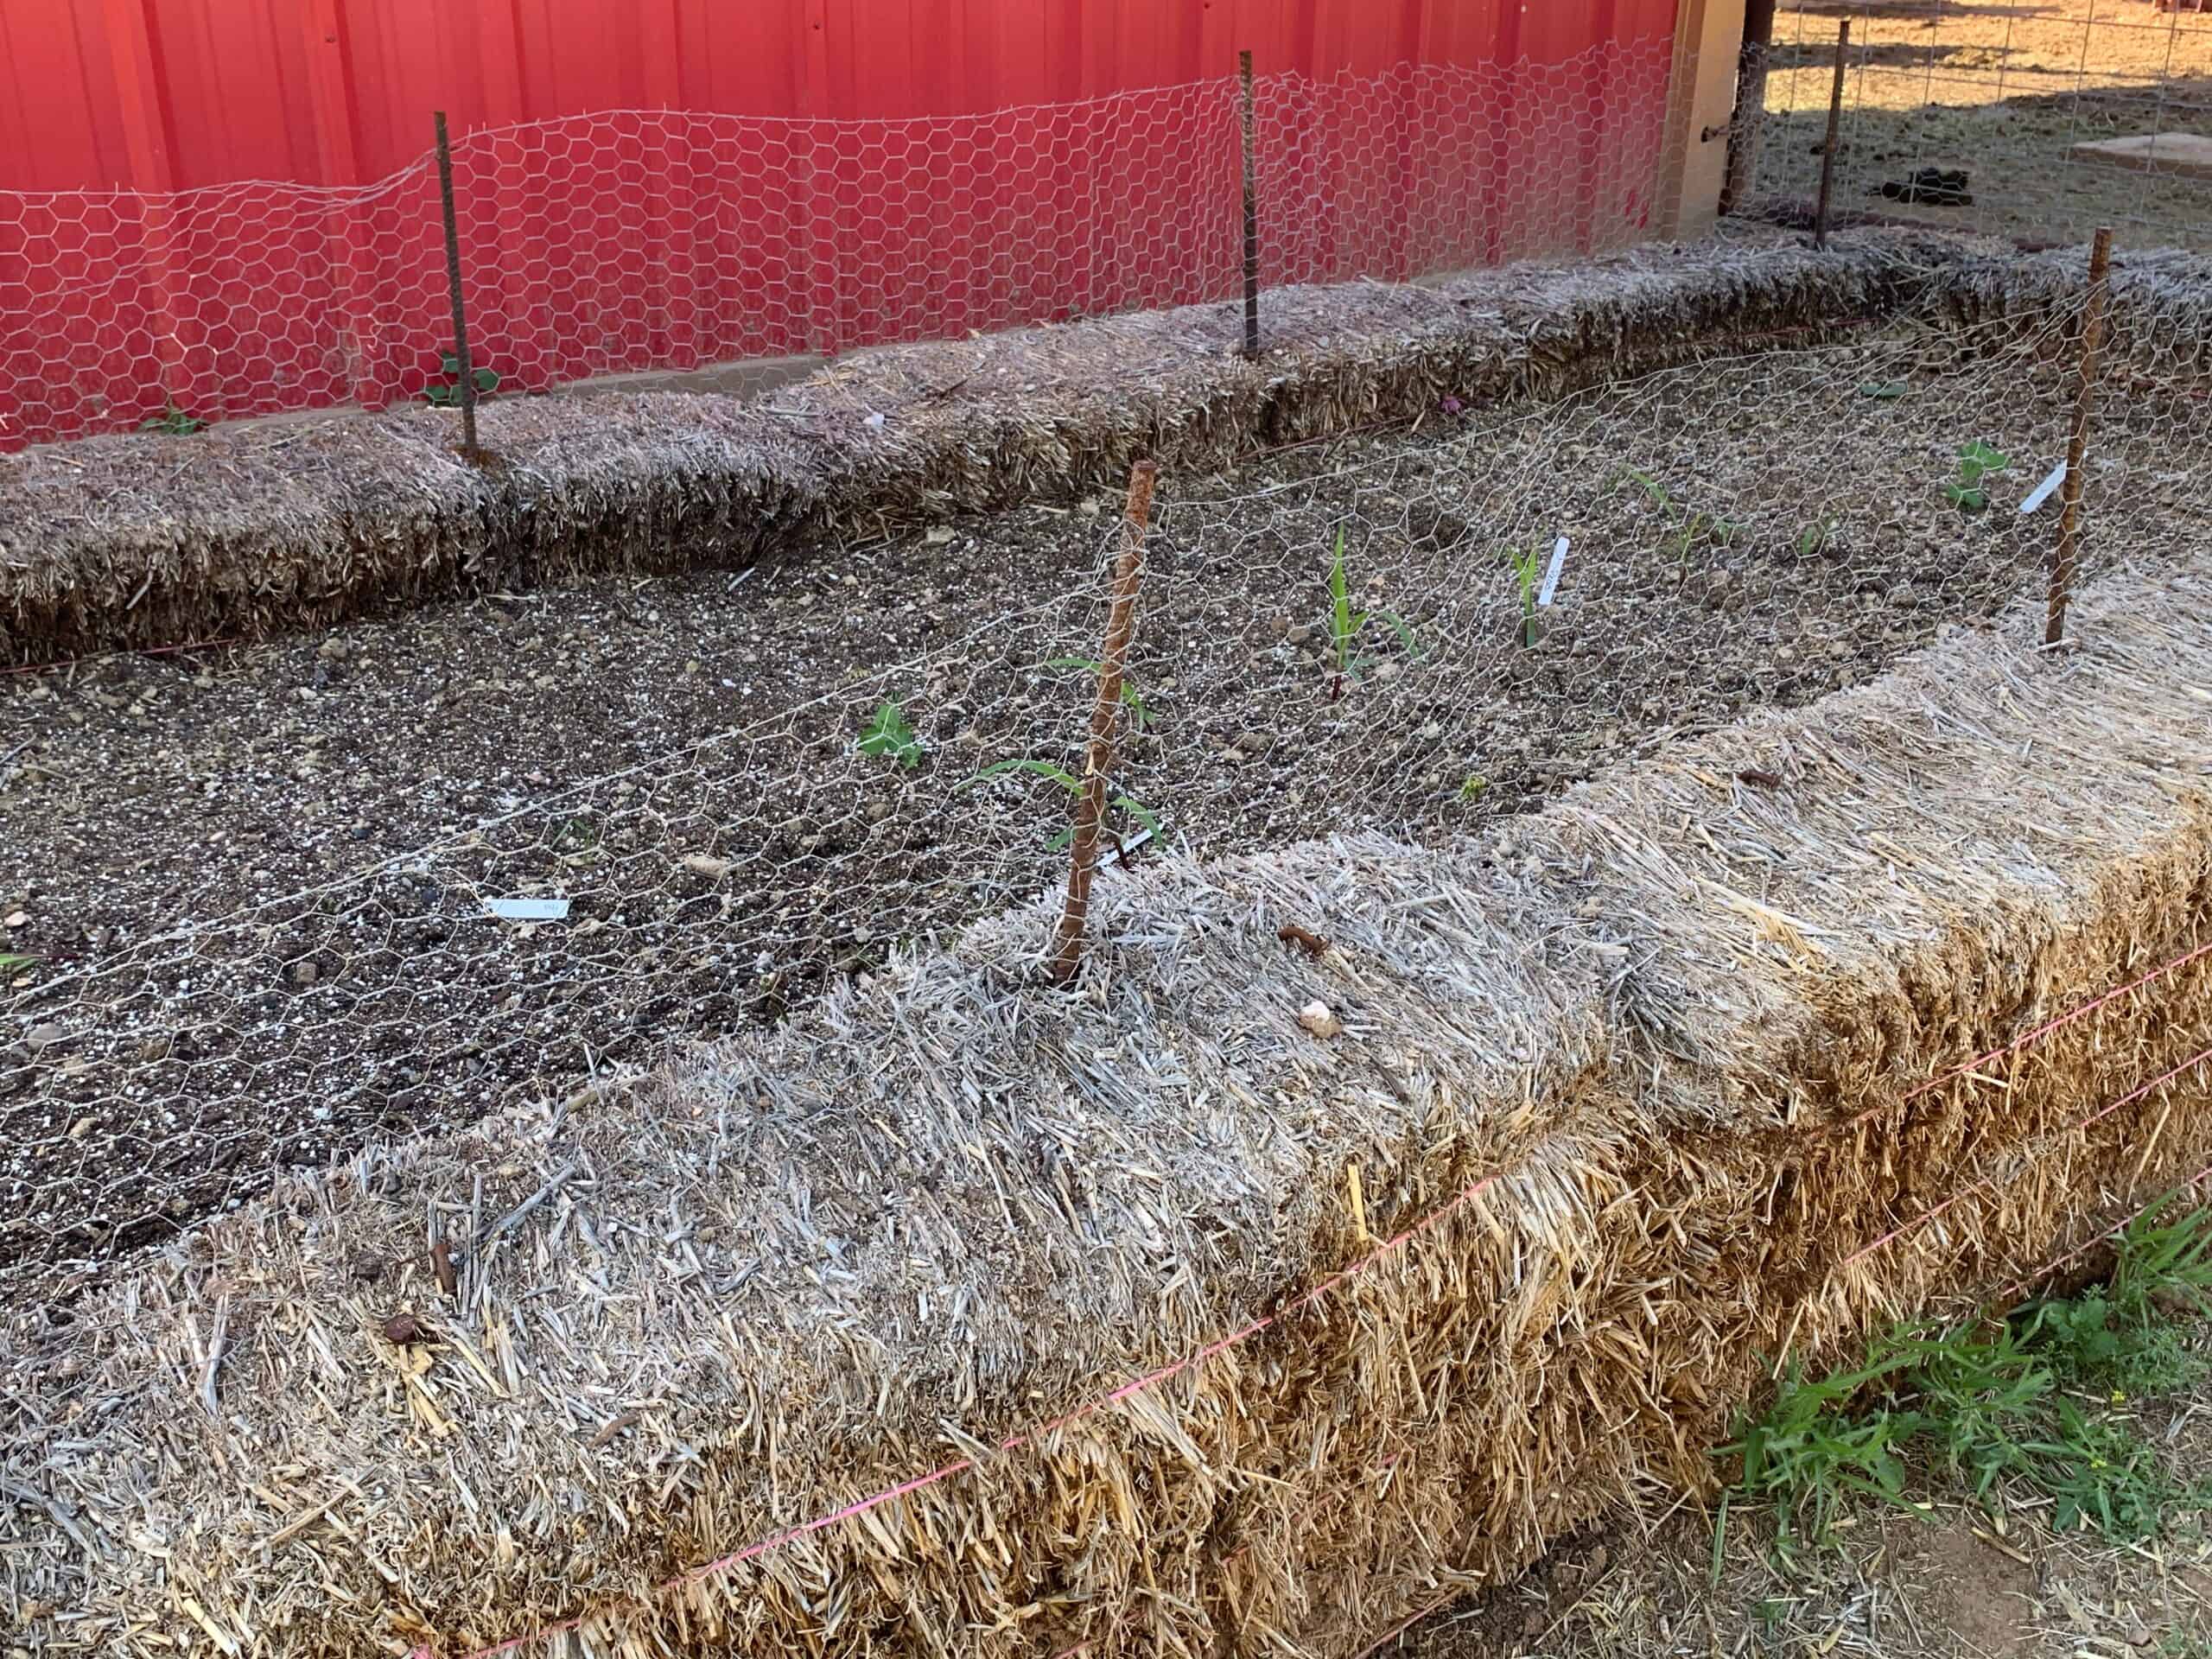
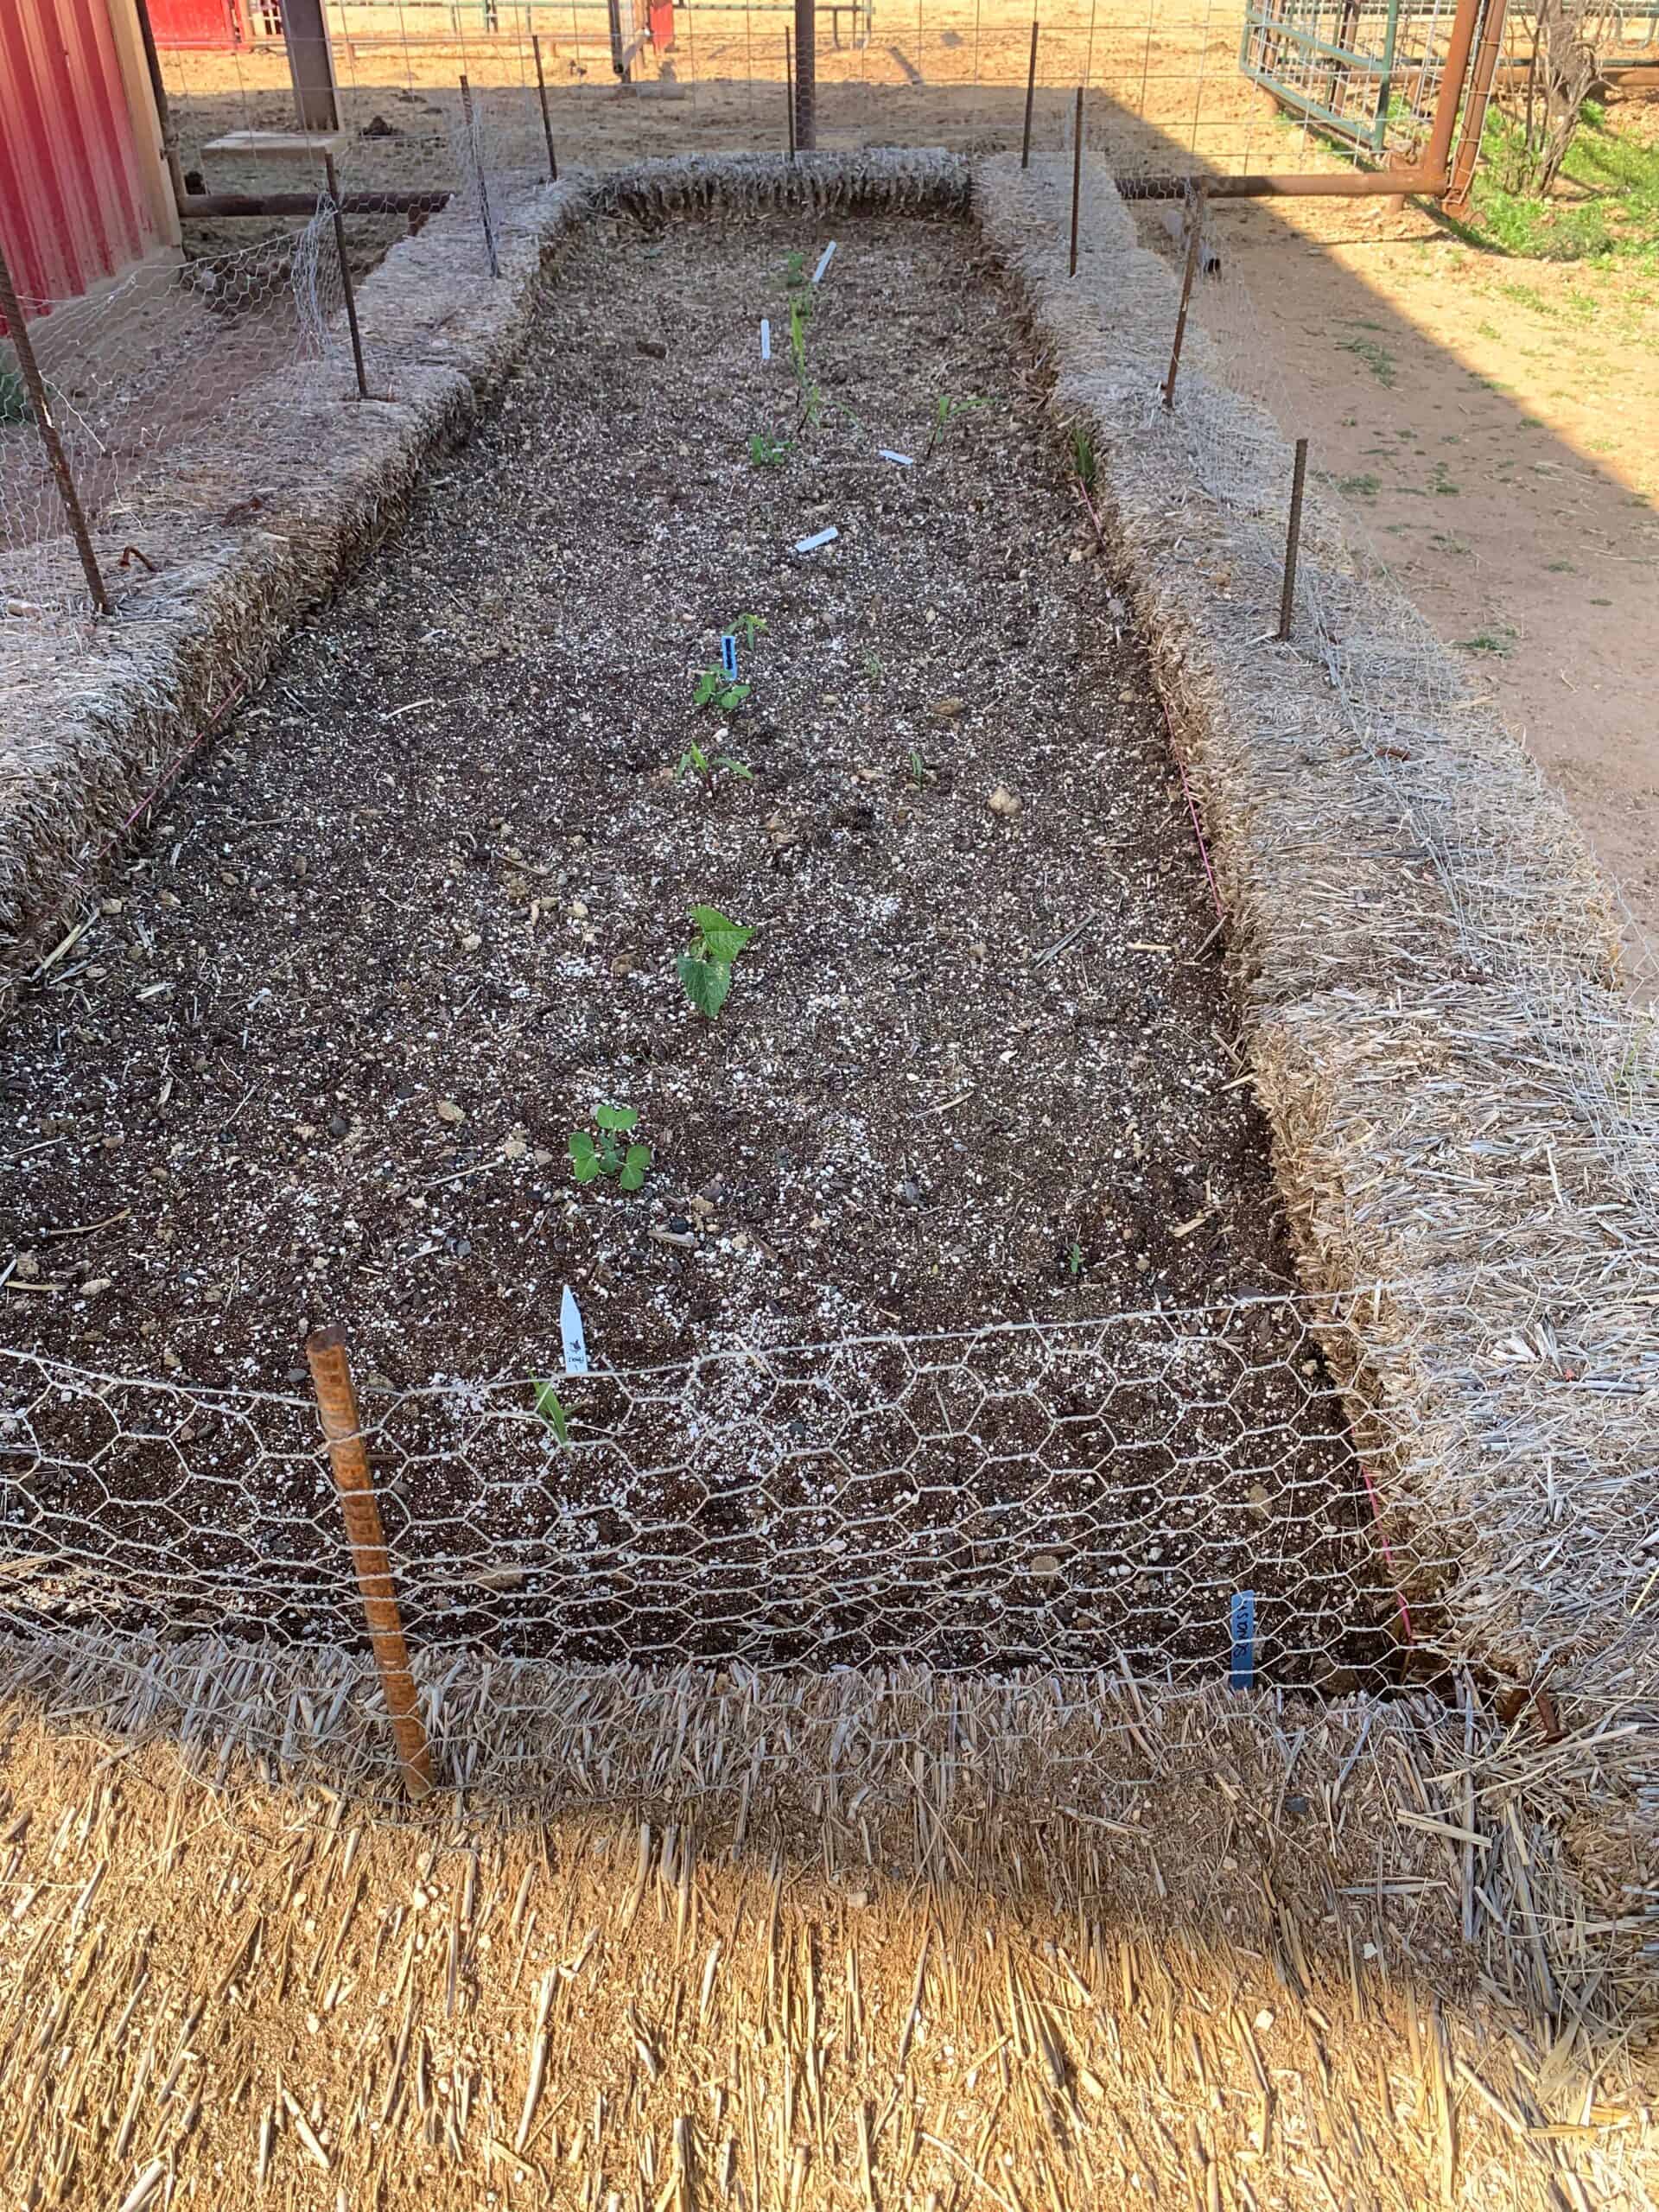
Straw bale gardening has grown in popularity over the years, especially for smaller homesteads.
Setting up a straw bale garden is a highly practical way to grow your favorite vegetables and fruits in small spaces. Also, it’s a useful alternative for properties that can’t be dug to create your garden. It’s ideal in areas with poor soil.
Straw Bale vs Hay Bale Gardening
The gardening concept is the same and they seem similar on the surface, there are differences between straw bale gardening and hay bale gardening.
Straw bales contain barley and wheat stems, commonly used for composting, mulching, and gardening. On the other hand, hay bales don’t have barley and wheat stems but seeds.
Most hay varieties will have alfalfa and timothy seeds that are likely to sprout if they get wet. Considering you’ll need to water your garden regularly, this can be quite damaging to your existing plants.
Straw is also a better alternative because it’s weed-free and shaped similarly to hay, making it easy to work with.
With a 100% natural composition that will compost over time, straw will continue to feed your plants sustainably.

Why Start a Straw Bale Garden
Aside from being a fantastic source of prolonged nutrients for your plants, there are several pros to having a straw bale garden.
No More Poor Soil
Have you considered planning a garden only to find your soil is too poor to grow anything properly? Starting a garden where soil poor is often a challenge. Depending on what you have to work with, it may take more work, time, and money than it’s worth.
You also won’t have to worry about growing vegetables in soil contaminated with heavy metals.
Straw bales take the guesswork out of the process by balancing pH levels and harboring healthy microorganisms. If you don’t want to invest the time and money into amending your existing soil, we highly suggest this method.
You’ll also find that strawbale gardens are more accessible to create than raised vegetable gardens, and they use less space.
Cost-Effective
One of straw bale’s unique features is that it serves as a growing medium and garden bed. It’s an incredibly cost-effective way to grow organic vegetables.
The materials are also very easy to source from farms and stores, though you must ensure they’re organic. This way, you will ensure it’s free from pesticides.
Instant Gardening
It can be challenging to allocate a significant chunk of your property to a garden. By adding straw bales, you’ll have an instant garden that can be moved at your leisure.
Many households plant gardens in their backyard or even along their driveways, as they don’t require soil use. This is a highly beneficial option for households with limited space.
Reduced Labor
It can be very time consuming and physically exhausting to own a garden. With this alternative, you can get rid of a substantial chunk of work you’d typically be responsible for.
For example, you’ll no longer have to deal with weeding and digging to maintain your plants. Essentially, you’ll have up to 40 gallons of free space to fill with an assortment of fruits and vegetables.
You won’t even have to worry about too much maintenance, as the growing medium fosters a healthy environment on its own.
After the growing season is finished, you can easily repurpose the straw as a top dressing for your compost pile.

Straw Bale Gardening Problems
There are a few cons as well, but they are minimal concerns. Toward the end of the season, the straw bales will likely be wet and heavy.
Sometimes plants get large and need staking for support. Lastly, consider where you buy the straw bale. Many contain toxic chemicals. Choose organic straw when possible.
What Vegetables Grow Best in a Straw Bale?
When looking at what vegetables grow best in a straw bale, you’ll find those that need nutrient-rich environments are the best option.
A zucchini plant, gourds, pumpkins, and cucumbers are just a few examples of the easiest vegetables to grow for this environment. Growing lettuce also works well with strawbale gardening.
Also, it’s a great way to manage plants that require a lot of space to grow. A few other essential vegetables to add to your straw garden include:
Tomatoes
As a fan favorite worldwide, tomatoes do quite well in straw bales and are easy to grow. The process is quite similar to what you would encounter if you planted them into the dirt.
How to Plant Tomatoes in Straw Bale Garden
If you live in a warm environment, you’ll be glad to know growing tomatoes is simple. They require temperatures between 70°F and 80°F to germinate properly.
You’ll be able to plant tomato seeds into your straw bales directly and allow them to germinate on their own.
Alternatively, if they are large enough, you can grow tomatoes in pots, as long as you have a deep enough hole to accommodate their roots. There must be at least two inches of roots buried into the bale so that they can establish a healthy root system.
The best tomatoes for straw bale gardening include:
- Black cherries
- Sungolds
- Carmellos
- Stupices
Potatoes
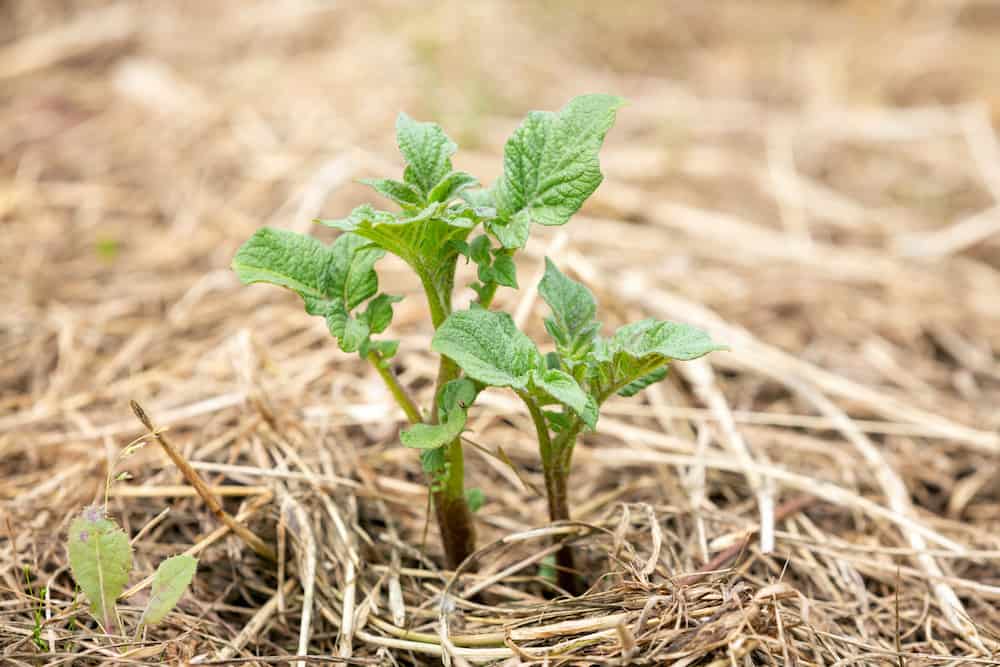
Potatoes and other root vegetables do very well with straw bale gardening, as their roots can thrive. The roots can spread far quicker in straw than they can in the dirt, which allows them to have a stronger foundation.
How to Plant Potatoes in Straw Bale Garden
The most important thing to note when planting potatoes is depth, as they form on the plant’s stem. You’ll want to plant your potato seeds up to six inches deep in the hay.
Always make sure you cover the seeds with more straw, but there should be enough space for the stems to emerge.
Carrots
You can find an assortment of unique carrots to grow in straw gardens. Be sure to plant them in the middle of spring, so they have at least 2 – 3 months to grow.
The planting process is similar to potatoes in that the seeds should be buried six inches into the bale.
How to Plant Carrots in Straw Bale Garden
Sow carrot seeds directly on top of the conditioned bale. Carrots need consistent moisture to grow properly. With good conditions, carrots may be ready to harvest sooner than when growing in soil. Save the seed packets and note the dates to maturity. Also keep watch for carrot flies.
Leafy Greens
There are a ton of leafy greens that will thrive in straw bale gardens. Lettuce, spinach, kale, and chard are just a few examples that can offer year-round nourishment.
With leafy greens, you can keep your garden fertile until winter, but they will require more maintenance.
How to Maintain Leafy Greens in Straw Bale Garden
To avoid uninterrupted harvests, you’ll want to ensure you plant new seeds every three weeks in your bale. Leafy greens also require constant access to nitrogen-heavy fertilizers every two to three weeks.

How Long Does a Straw Bale Garden Last?
The longevity of your straw garden depends on what you’ve planted as well as the weather. If the straw experiences heavy rains often enough, the material will break down quicker than in dry environments. Also, if you’re consistently harvesting and re-planting, you might notice the straw will become too loose to use.
So, how long does a straw bale garden last? On average, your straw garden can last the entire growing season, often until the middle of fall.
Once you’ve gotten as much use of the straw as possible, it can be turned into a mound of rich compost.
How Do You Condition a Straw Bale for Gardening?
Now that you’re ready to get your straw bale set up, it’s essential to prepare it adequately.
Each bale will need to be conditioned so that it can turn into a healthy growing medium. Although it’s the most time-consuming step, it’s well worth the investment.
Preparing the Bale
Here are the tips and tricks on how do you condition a straw bale for gardening:
Days 1 – 3
As soon as you have placed your straw bales where you want them, soak them thoroughly with a garden hose. This process needs to be done once daily for three days so the conditioning process can start.
The wetness encourages the microorganisms in the straw to begin working to heat the bale’s inside.
Days 4 – 6
During these days, you’ll want to sprinkle fertilizer on the top of your bales. Use one cup of ammonium sulfate or half a cup of urea. For the ammonium sulfate, you’ll need 21-0-0 and 46-0-0 for urea.
As they have the highest concentrations of nitrogen, it will help to speed up the conditioning. After you’ve applied the fertilizer, you will need to water it a second time each day.
Days 7 – 9
Continue with the fertilizer and watering method, but cut the fertilizer amounts in half.
Day 10
By now, you can stop adding fertilizer to ensure it stays moist; otherwise, the microorganisms can die.
Days 11 and 12
On day 11, you should be able to feel the temperature of your bales. It should be the same as your hand. As long as it is that warm, you can begin planting your vegetables. However, if it feels too hot, you can check it on day 12 to see if it has cooled down after being watered.
Straw Bale Gardening Instructions
Let’s get into the details you need to learn how to build your garden using these easy straw bale gardening instructions.
Step 1: Position and Condition Your Bales
Once you’ve sourced your organic straw bales from a garden center, determine where you want them placed. It’s a good idea to put landscaping fabric underneath to prevent weeds from growing into your medium.
You’ll also need to make sure there aren’t any binding strings along the bales’ planting surface.
Using the above steps, take the two necessary weeks to ensure your bales are thoroughly conditioned.
Step 2: Build a Greenhouse
Straw bale gardens are an excellent idea because they combine vertical and container gardening. By adding vertical stakes and wires to your garden, you can create a greenhouse to protect seedlings.
At the end of each bale row, erect your posts and run wires 10 inches above the planting surface of your bales.
At night, you can then drape a plastic tarp over the wires to retain moisture and warmth.
Over time, the wire will become a trellis for all of your vine-friendly vegetables, like squash and cucumbers.
Step 3: Planting
If you’re using seedlings, you must create holes in the straw and then cover the seedlings with planting mix. The planting mix will help cover and protect the roots.
Planting seeds is similar, as you’ll need to bury them in the straw, cover them with planting mix, and allow them to germinate.
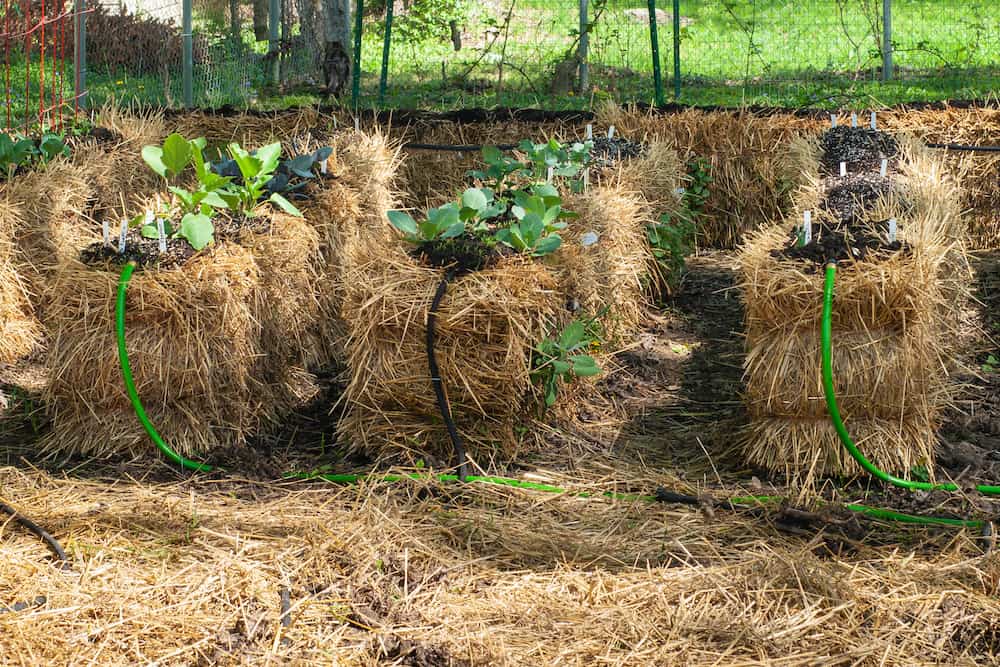
Step 4: Using a Soaker Hose
Soaker hoses are one of the most user-friendly options for keeping your straw bale gardens healthy. Because straw doesn’t contain weed seats, you can continually water your vegetables at regular intervals.
Even if you happen to get grass seedlings making their way into your garden, they’ll die off quickly. The heat produced by the microorganisms in your garden is great for vegetables but horrible for weeds.
Step 5: Enjoy Your Harvests
As your vegetables and fruits grow, be sure to harvest them regularly. At the end of the season, your straw bales should be gray, soft, and saggy, making them ideal for winter composting.
Where to Place Straw Bales
Ideally, straw bales should have a minimum of six hours of sunlight each day. They need need time to condition, so set them in the sun at least two weeks before planting.
You can set the bales on concrete, asphalt, dirt, wood pallets, turf, or sand. If placing on dirt, you can spread newspapers and/or cardboard on the bottom to protect weeds from growing.
What Kind of Straw for Straw Bale Gardens
Choose organic straw bales from local farms and feed stores. You’ll want to grow in bales with as few pesticides and fertilizers as possible.
Never use a decorative straw bale from a craft shop for a straw bale garden. These are meant as decor and sprayed with a fire retardant. They aren’t suitable as a garden medium or for composting.
If you are reusing straw that you used as livestock bedding, be sure it’s well-composted if it contains manure.
Ideally, any straw you use should be free of chemicals, pesticides, and weed seeds.
Do You Need a Straw Bale Garden?
Having a straw garden makes it simple to own an organic garden with a small footprint. It is a phenomenal growing medium for an assortment of vegetables and is quite simple to maintain.
Overall, it’s a good project to consider for your homestead. It can be a garden alternative for areas with poor soil.

